

Last updated October 31, 2026
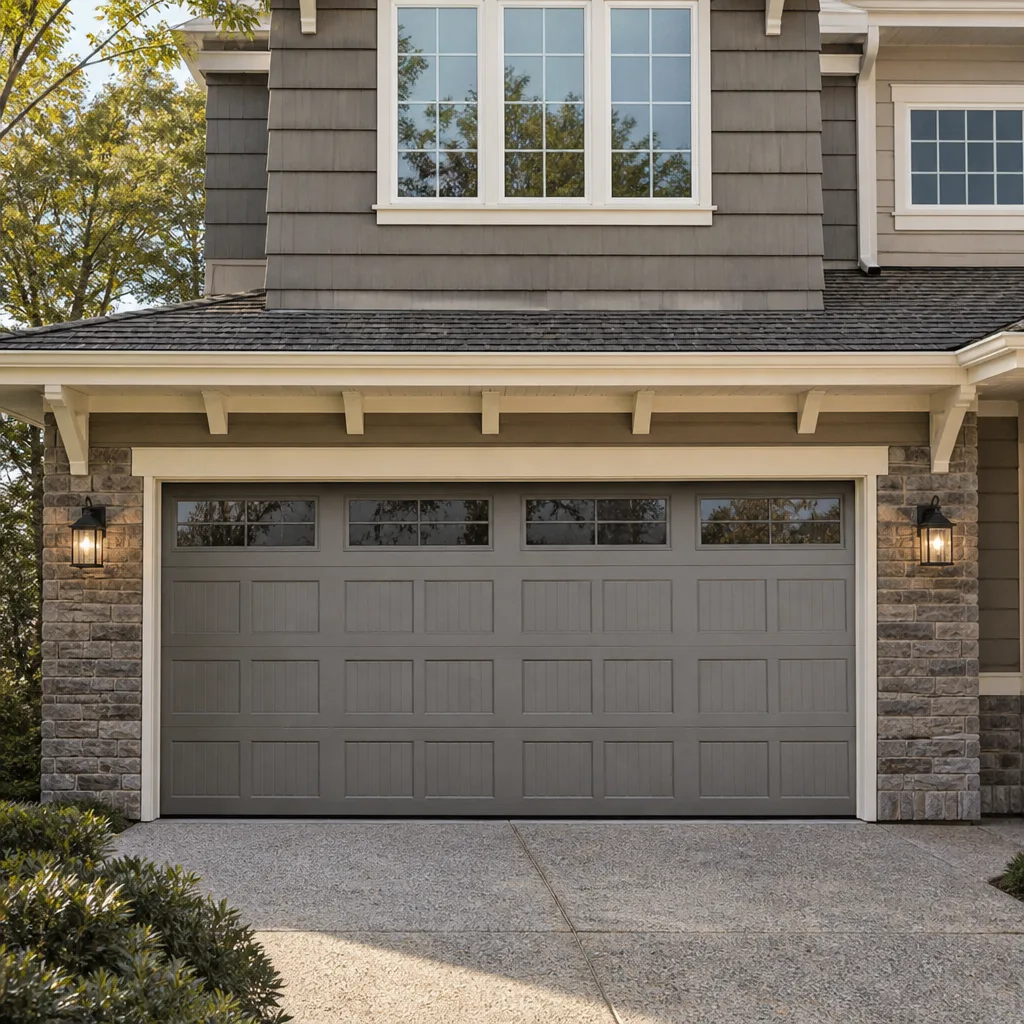
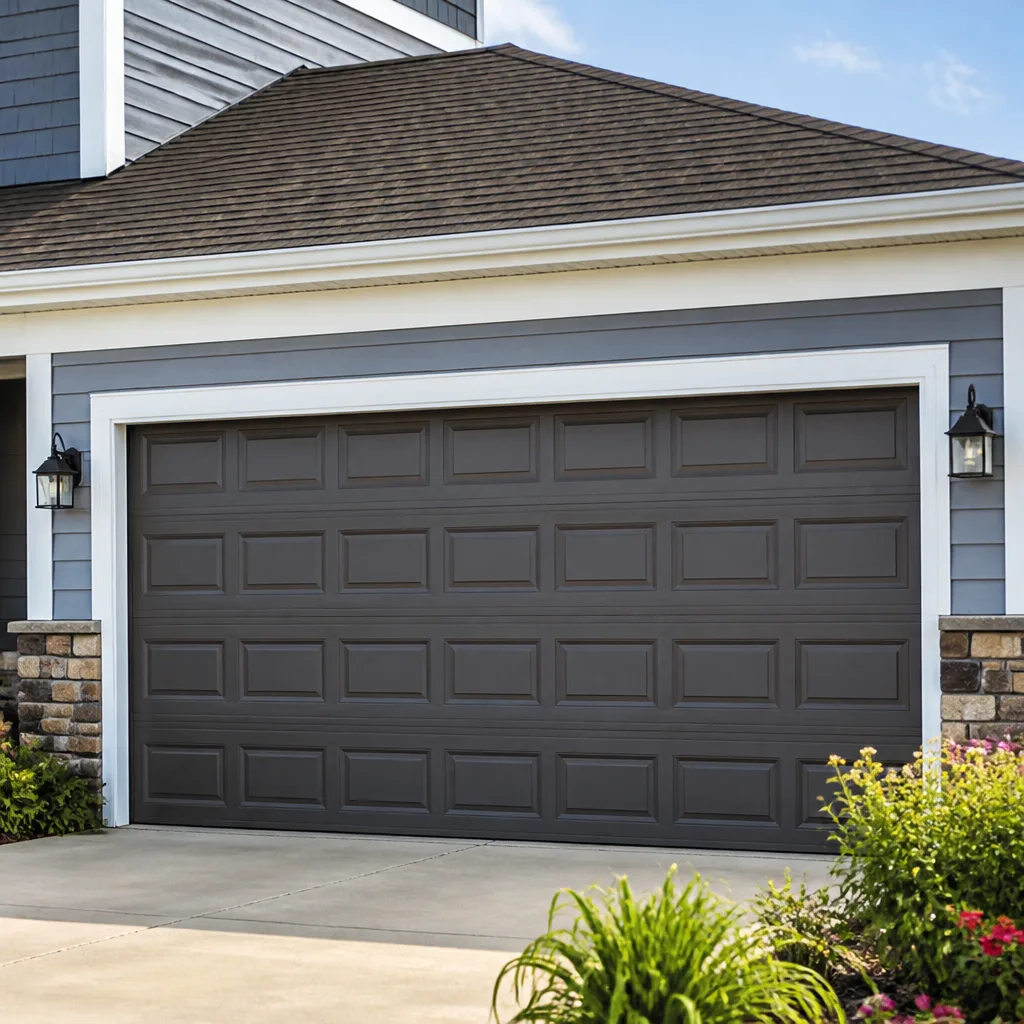 Raised-panel steel
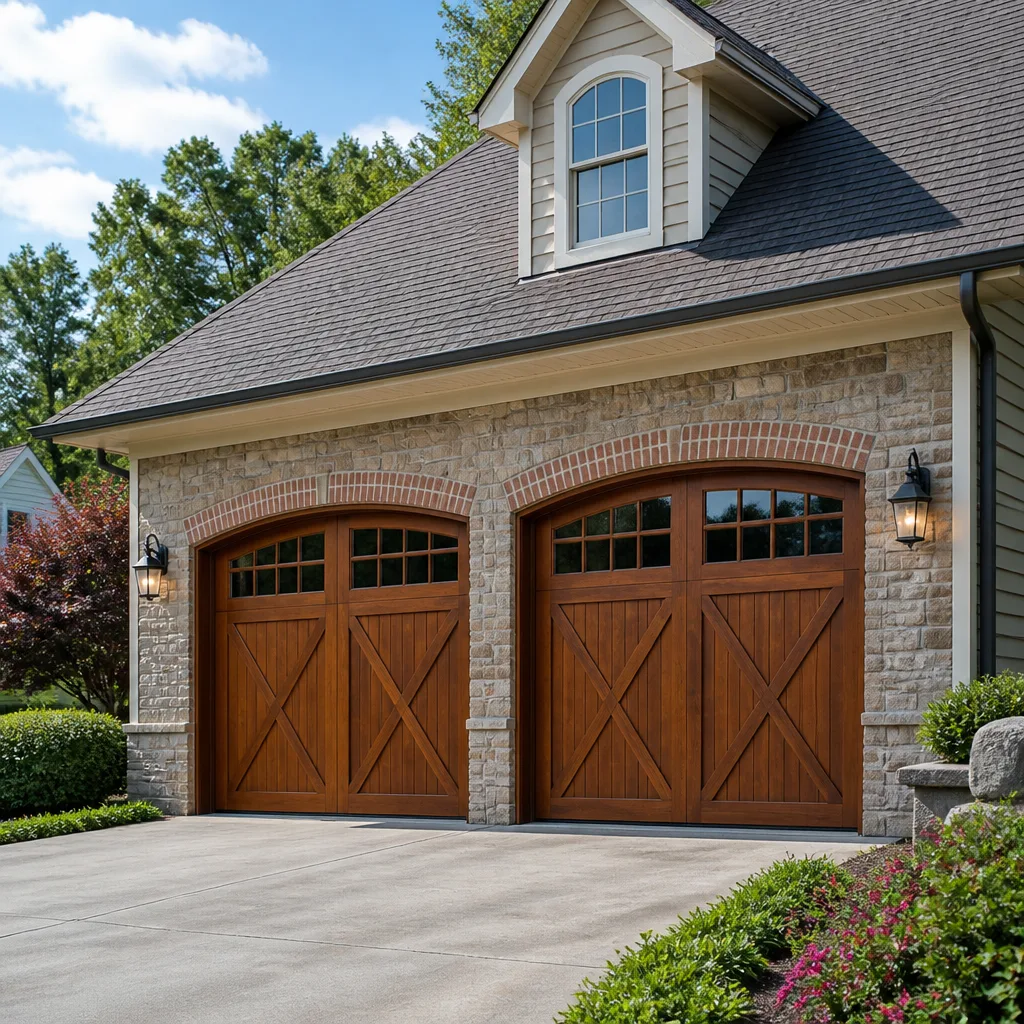 Carriage house
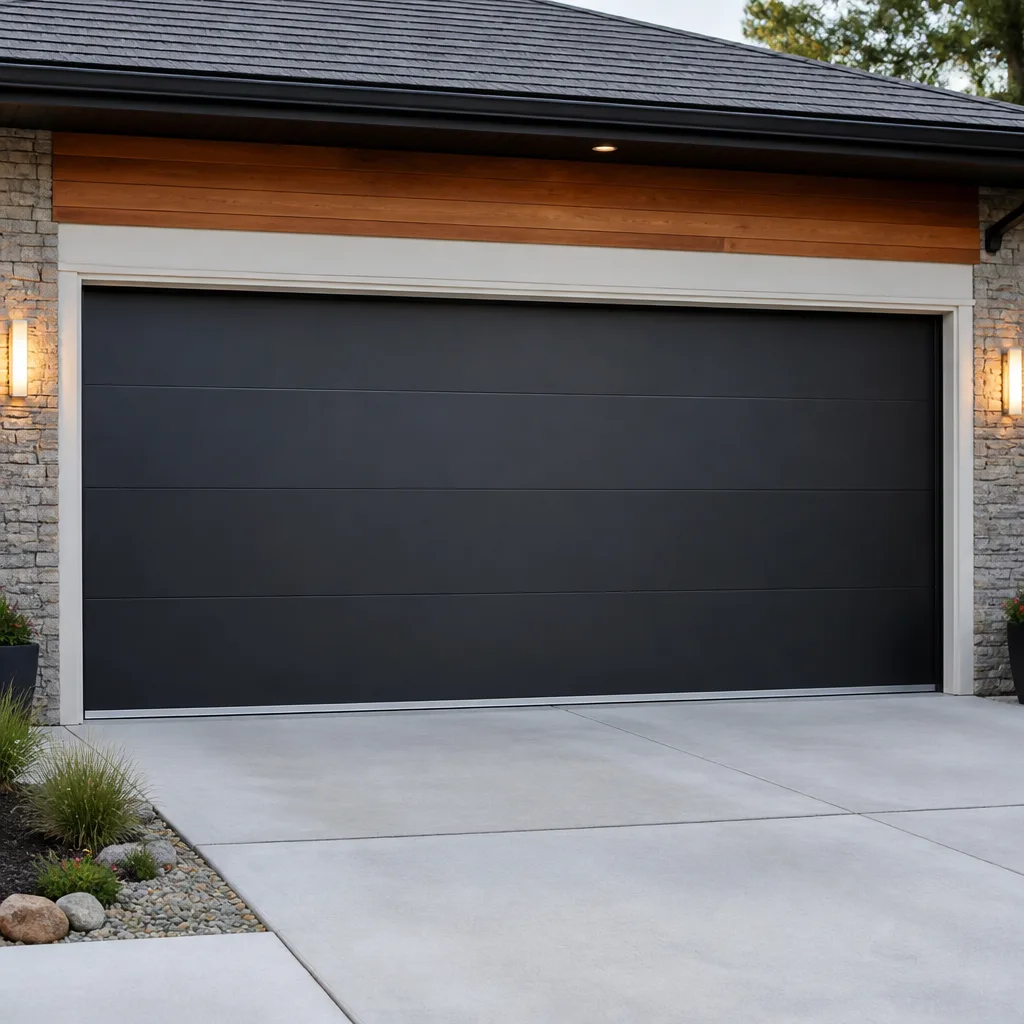 Modern flush
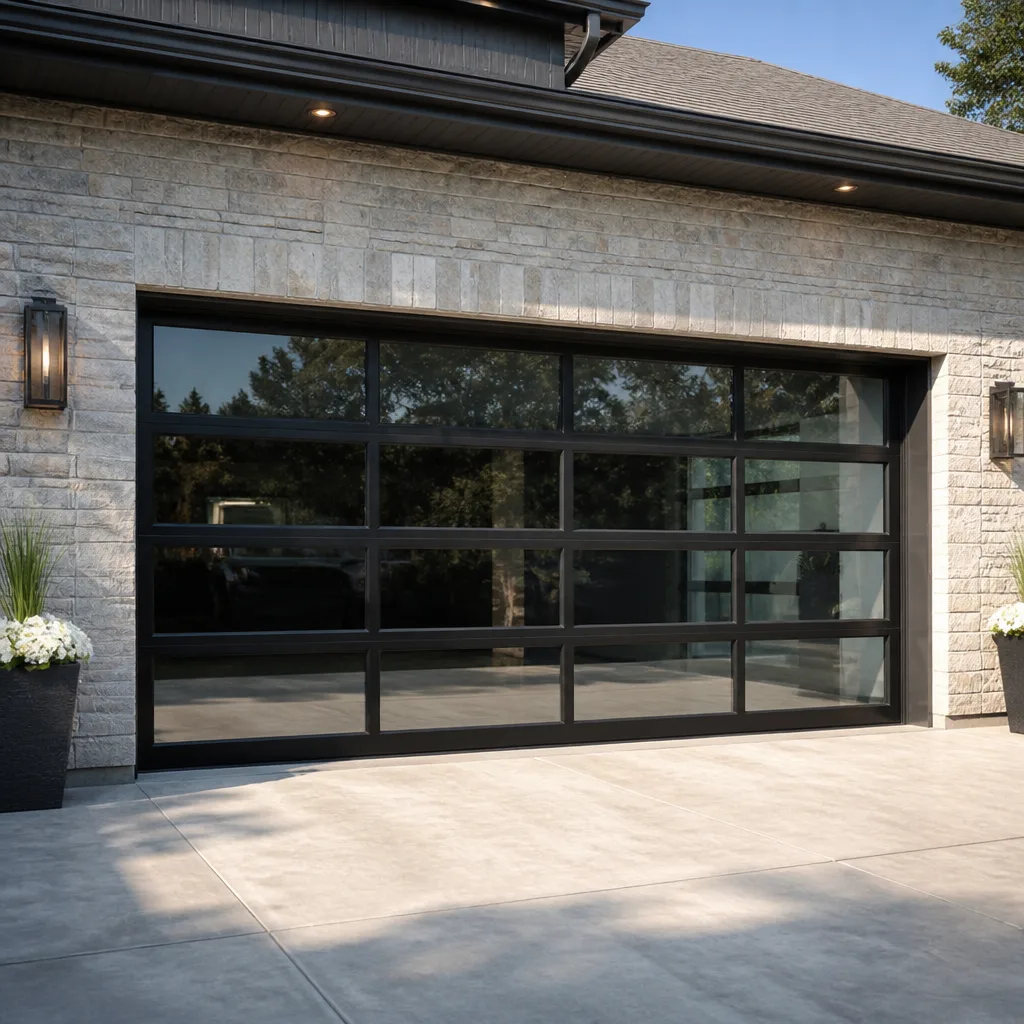 Full-view glass
 LiftMaster openers
 Chamberlain openers
Full 25-point door and opener safety check with every visit - springs, cables, rollers, tracks, and your LiftMaster or Chamberlain opener included
You get a price before we start. It does not change when the truck arrives.
Get your free estimateGarage Door Repair Maintenance Checklist for Rancho Cucamonga Homeowners
Lubricating your garage door hinges without first checking roller wear is like changing your oil without checking tire pressure. You’ve done maintenance theater, not maintenance. In Rancho Cucamonga, where summer temperatures regularly push past 100°F and the Santa Ana winds carry fine grit into every track and hinge, a garage door that merely “works” is often one heat cycle away from a breakdown. This Garage Door Repair guide gives you the specific pass/fail thresholds our technicians use when they inspect doors across Alta Loma, Etiwanda, and the foothill communities. You’ll learn what to measure, what to listen for, and exactly when a worn part crosses from “keep an eye on it” to “schedule a service call.”
Quick Answer
A garage door maintenance checklist for Rancho Cucamonga homeowners should cover eight inspection points: torsion spring gap, cable fraying, roller wobble, balance test performance, weatherseal condition, track alignment, opener force settings, and lubrication by product type. For deeper dives, see our Garage Door Repair Troubleshooting: Common Problems and How to Fix Them. The balance test is the single most important check: with the opener disengaged, a properly balanced door should hold at the 3-foot mark and below. If it drifts up or drops below that point, the springs are wearing out and need professional adjustment within 30 days.
Styles & brands we work with
Table of Contents
- The Balance Test: Your Door’s Most Honest Health Report
- Torsion Spring Inspection: The Gap Width That Matters
- Cable Fraying: Counting Wires Instead of Guessing
- Roller Wobble Tolerance: What’s Acceptable, What’s Not
- Lubrication by Product Type: White Lithium, Silicone, or Nothing
- Weatherseal Deterioration: Why Rancho Cucamonga Accelerates It
- 6-Month Owner Tasks vs. Annual Tech Tasks
- Common Mistakes to Avoid
- When to Call a Professional
- Frequently Asked Questions
The Balance Test: Your Door’s Most Honest Health Report
Every garage door system, whether it’s a lightweight Clopay steel door or a heavier Amarr wood-look carriage model, is designed around one principle: the springs should carry the door’s full weight, not the opener. When springs weaken, the opener becomes a lifting machine instead of a guiding machine. That’s how motors burn out in five years instead of fifteen.
Here’s the test we run on every service call in Rancho Cucamonga, and it takes under two minutes:
- Close the door completely.
- Pull the red emergency release cord to disengage the opener from the door.
- Lift the door manually to about waist height, between 3 and 4 feet off the ground.
- Let go completely.
Pass: The door stays exactly where you left it, or moves less than 2 inches either direction.
Borderline: The door drifts up more than 2 inches but less than 6. This means the springs have lost tension and are overcompensating. It will still work for now, but the opener is taking on load it wasn’t designed for.
Fail: The door drops below the 3-foot mark and continues downward. The springs are no longer carrying the door’s weight. Every opening cycle is now hyper-wearing the opener gear, sprocket, and motor. We call this “running on borrowed time” because the damage compounds quickly in Rancho Cucamonga’s heat, which accelerates metal fatigue in already-stressed springs.
One more thing about the balance test: do it with the door at multiple heights. A door can pass at 3 feet but fail at the top of its travel. A properly balanced door should hold at any point between waist height and full open. If it droops near the top but not the middle, you’re in the early stages of spring wear. That’s the window where adjustment is cheap and a full spring replacement is preventable.
Torsion Spring Inspection: The Gap Width That Matters
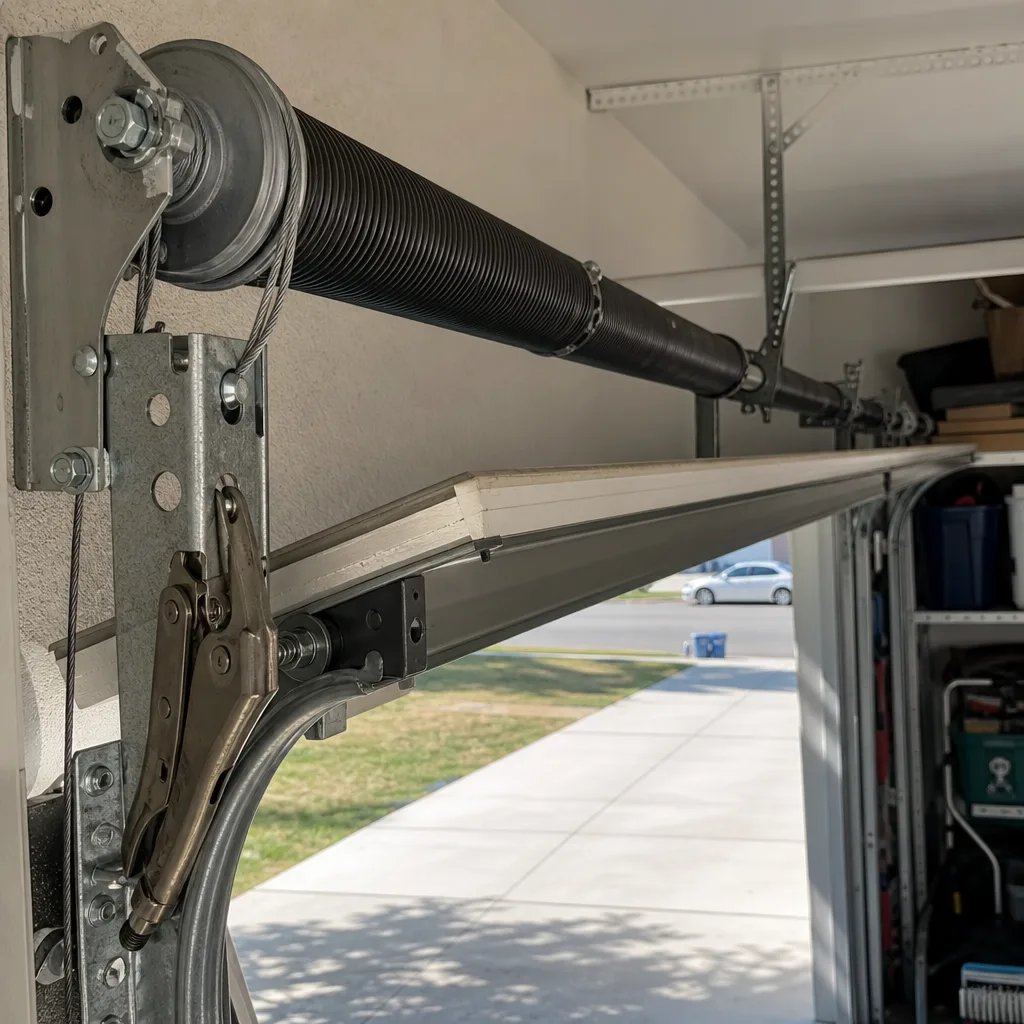
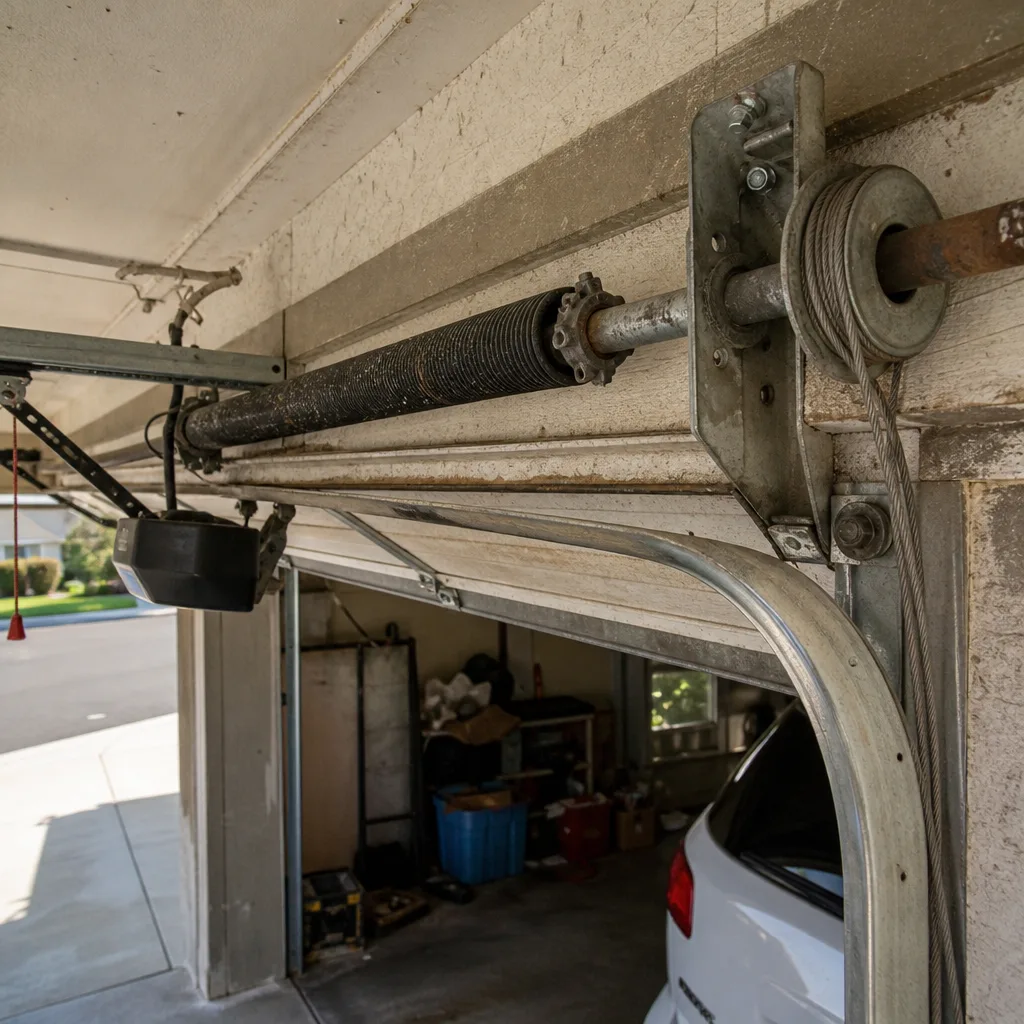
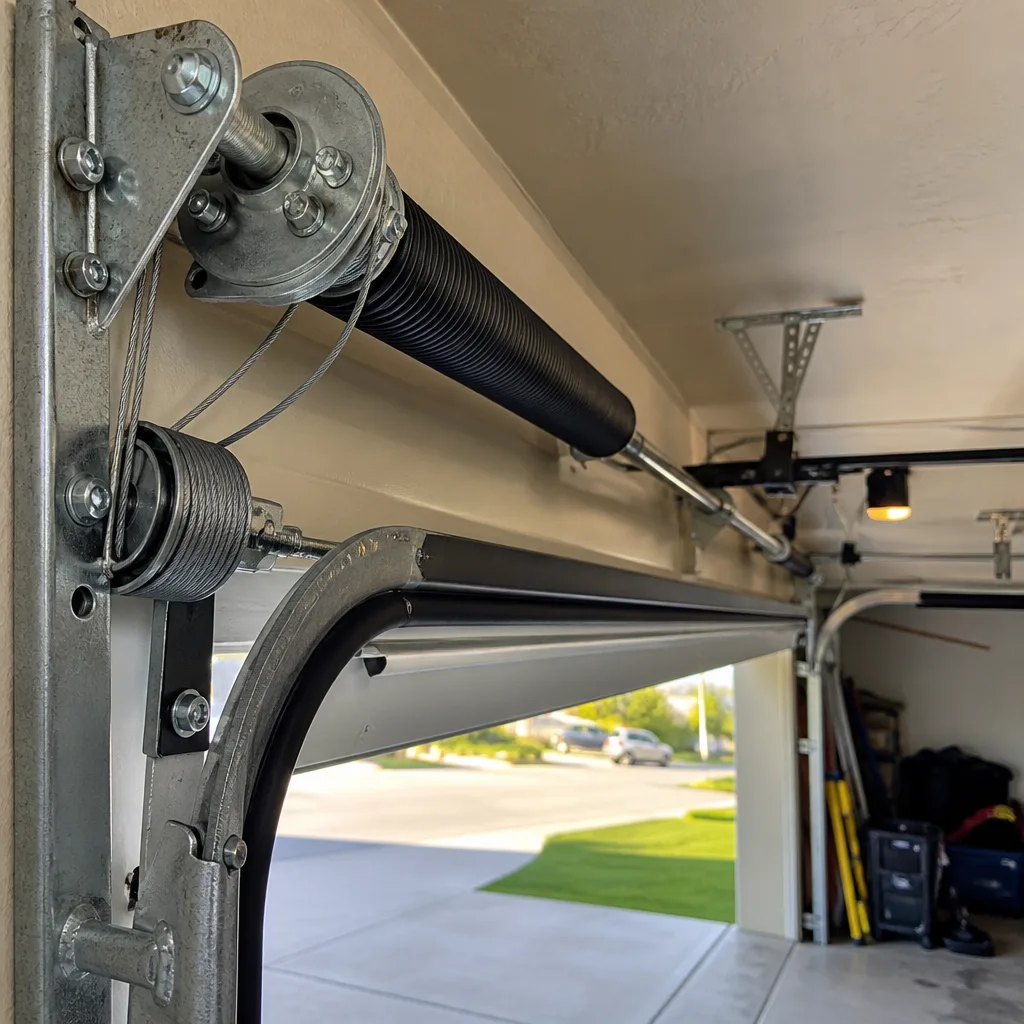
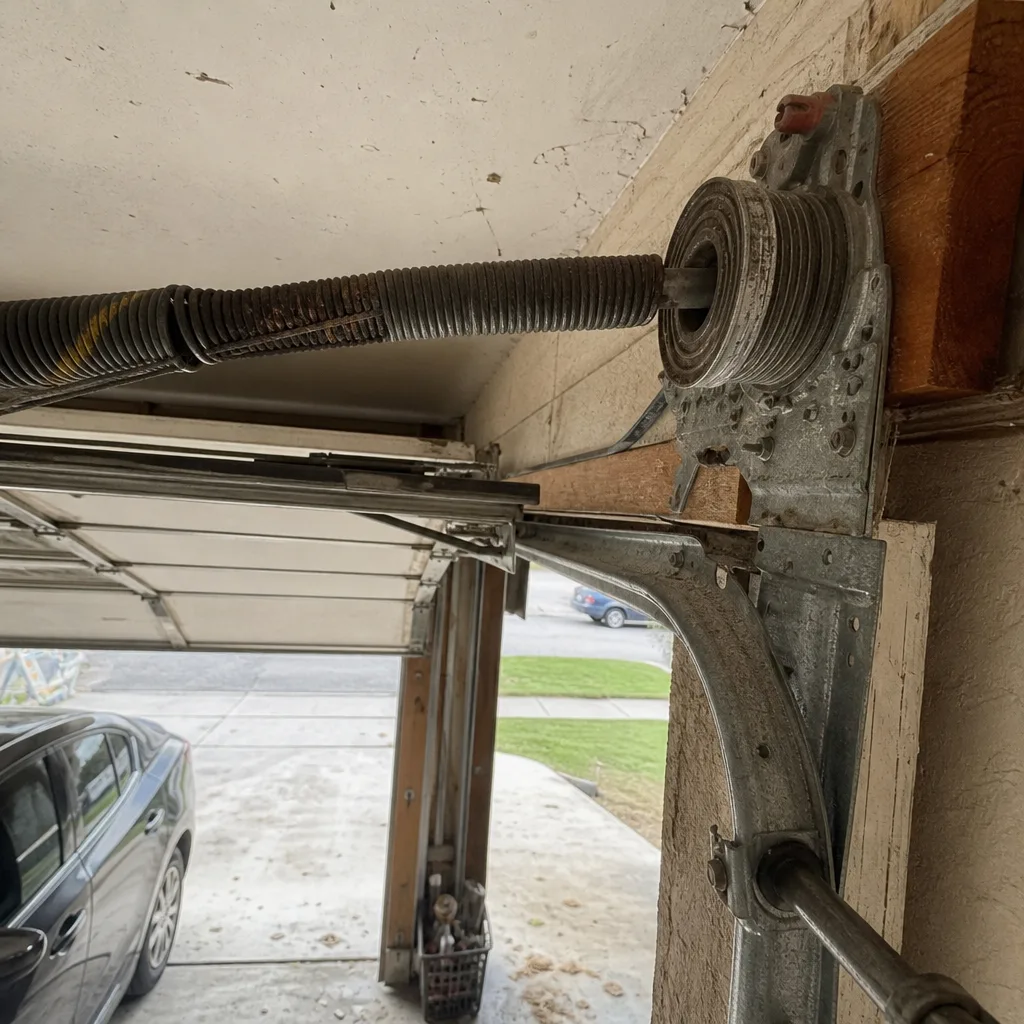
Torsion springs are the wound steel coils mounted on the bar above your door opening. They store mechanical energy that lifts the door’s weight hundreds of times per week. In Rancho Cucamonga’s temperature swings, these springs expand and contract more than they would in coastal climates, which shortens their cycle life.
Here’s what to look for, and here’s the number that actually matters:
- Gap width threshold: A healthy torsion spring should have no visible gap between coils. Run your eye along the spring and look for coils that have separated. A gap of 1/8 inch is the pass/fail threshold. Anything wider than a dime’s thickness means the spring has begun to fail internally and is no longer providing consistent torque.
- Rust pattern: Surface rust is cosmetic. Pitting rust, where the metal looks like it’s been sandblasted with tiny holes, is structural. Pitted springs in the Inland Empire’s dry climate mean they’ve been through 10-plus summers and are at the end of their rated life.
- Symmetry check: If you have a two-spring system, both springs should look identical. If one shows a wider gap than the other, that spring is failing faster. When one goes, the other typically follows within weeks.
Safety note: Do not attempt to adjust, repair, or replace torsion springs yourself. These springs are wound under enough tension to cause serious injury or death. A spring with a 1/8-inch gap is a measured observation; fixing it is a professional job. If you see the gap, call a garage door specialist.
Cable Fraying: Counting Wires Instead of Guessing
Lift cables are the braided steel wires that run along both sides of the door, connecting the bottom brackets to the torsion bar. They work in pairs. When one cable frays, the remaining strands are holding the entire weight of that side of the door under tension.
The threshold we use is simple and it’s about counting:
- 0 broken wires: Pass. Surface discoloration is fine.
- 1-2 broken wires: Watch closely. This is pre-failure. You have 30-60 days of safe operation, less if you open and close the door multiple times daily or if your door is heavy or wood.
- 3 or more broken wires: Fail. Replace the cable immediately. When you can count 3 broken strands visible in one spot, the cable has lost roughly 10 percent of its load capacity. That may not sound like much, but cable failure is sudden, not gradual. The remaining wires snap together.
Look for fraying at the bottom bracket first. That’s where cables make their sharpest bend and where Rancho Cucamonga’s dry heat concentrates stress. Also check where the cable wraps around the drum at the top. If you see the cable unwinding unevenly from the drum, even with zero broken wires, the drum is out of sync and needs adjustment.
One more cable check that costs nothing: pull the red release cord and manually lift the door halfway. If either cable has visible slack, the cable has already jumped the drum or is about to. Close the door manually and don’t use the opener until a specialist gets there.
Roller Wobble Tolerance: What’s Acceptable, What’s Not
Rollers are the little wheels that ride inside your door’s vertical and horizontal tracks. They come in steel, nylon, and steel with ball bearings. Most doors installed in the last 15 years in Rancho Cucamonga have nylon rollers, which are quieter and don’t corrode in dry heat, but they wear down just like anything else.
The wobble test is visual and auditory:
- Open the door halfway.
- Grab the door panel at eye level and push it side to side, perpendicular to the tracks.
- Watch each roller as it moves.
Pass: The door moves less than 1/4 inch side to side, and rollers stay centered in the track with no visible gap between the wheel and the track wall.
Borderline: The door moves up to 1/2 inch, and you can see the roller wheel tilting in the track. You’ll hear a chattering or grinding sound during normal operation, especially on the horizontal section where the track makes its curve.
Fail: The door moves more than 1/2 inch when pushed, or any roller has flat spots, visible missing material, or has stopped rolling entirely and is now sliding. A sliding roller destroys the track over time. Replacing ten rollers is a $150 job; replacing a bent track can cost twice that.
We recommend replacing rollers as a set, not individually. Mixed new and old rollers create uneven wear patterns that shorten the life of the new ones.
Lubrication by Product Type: White Lithium, Silicone, or Nothing
Bad lubrication is worse than no lubrication for one reason: the wrong product attracts grit. In Rancho Cucamonga, that grit is particularly abrasive, a fine silica dust that gets kicked up by Santa Ana winds and works its way into every pivot point. Here’s what goes where:
- Silicone spray: This is for anything plastic or nylon. Nylon rollers, plastic bearing housings, and any rubber or plastic contact points. Use a non-petroleum-based silicone spray with no oil that leaves a wet residue. Apply to the roller bearings (not the wheel surface), the hinge pivots, and the lock mechanism.
- White lithium grease: This is for metal-on-metal contact. The torsion spring itself is the main application, but not just a light coat. Use a lithium grease spray with a nozzle tip, apply it along the top of the spring where the coils gap. The grease works into the gaps and reduces friction between coils as the spring winds and unwinds. Apply to the metal hinge pins, the track where the rollers ride, and the opener rail if it’s metal.
- Nothing: Do not lubricate the chain or belt on a Chamberlain or LiftMaster opener. These systems are self-lubricating or sealed. Adding oil or grease to a belt attracts dust and causes premature wear on the teeth. Do not lubricate the weatherseal. Do not lubricate the photo-eye lenses. Do not spray anything on the bottom panel or the rubber astragal.
Frequency matters more than volume. We recommend lubricating twice a year in Rancho Cucamonga: once in late spring before the summer heat hits, once in late fall before winter mornings. A door that squeaks in January is telling you the last lubrication didn’t happen.
Weatherseal Deterioration: Why Rancho Cucamonga Accelerates It
The rubber weatherseal along the bottom of your door and the vinyl weatherstripping on the sides and top serve two jobs: they keep dust and moisture out, and they create a thermal barrier. In Rancho Cucamonga, the seal’s failure mode is accelerated by two factors that national averages don’t capture: intense UV exposure and sustained ambient heat.
Most national maintenance guides suggest replacing weatherseals every 3-5 years. In the Inland Empire, we see seals go brittle in 2-3 summers. The heat cooks the rubber’s plasticizers out, leaving it hard and cracked. Once that happens, the seal tears at the corners where the door makes its tightest bend.
Here’s the pass/fail test:
- Close the door completely.
- Walk the perimeter in daylight.
- Look for visible light gaps between the seal and the garage floor or door frame.
Pass: No visible light, or a gap no thicker than a pencil lead along the bottom. The seal compresses when the door closes and springs back when it opens.
Borderline: Light visible in gaps under 1/4 inch, seal feels stiff when bent back manually, or corners have small tears.
Fail: Gaps more than 1/4 inch, visible cracking, seal material that flakes when touched, or daylight visible around more than half the door’s perimeter. This is when dust, heat, and in the rare wetter months, water, are getting into your garage.
Rancho Cucamonga homeowners should also check the seal for pest intrusion. A broken bottom seal is an open invitation for black widows and desert rodents looking for cooler shelter in the summer. Replace a failed bottom seal before spring, when pest pressure ramps up.
6-Month Owner Tasks vs. Annual Tech Tasks
Knowing where your responsibility ends and a specialist’s begins keeps maintenance consistent without you overreaching into dangerous territory. For warning signs specific to this area, read our Garage Door Warning Signs: A Rancho Cucamonga Homeowner’s Reference Guide. Here’s the split we recommend for Rancho Cucamonga homeowners:
Owners should do these every 6 months:
- Run the balance test as described above.
- Count visible cable broken wires at the bottom brackets.
- Inspect roller condition visually and listen for chattering during operation.
- Check weatherseal integrity using the daylight test.
- Lubricate hinges, springs, and rollers with the correct products as described above.
- Test the safety reversal system by placing a 2×4 flat on the floor under the door path and closing the door. It should reverse within 2 seconds of contacting the wood.
A technician should do these annually:
- Measure torsion spring torque and compare to the door’s actual weight. This requires a tension gauge.
- Inspect cable drum alignment and cable tension symmetry.
- Check all hinge and bracket fasteners for looseness caused by vibration.
- Adjust track alignment with a level and measure track width consistency.
- Test opener force settings and confirm the reversal pressure is calibrated to the door’s exact weight. A door whose weight has changed, because of spring wear or a new panel install, will have incorrect force settings even if the opener “works.”
- Inspect the spring mounting brackets and center bearing plate for cracking.
The annual tech visit is where you catch things the checklist can’t measure: asymmetrical cable load, micro-cracking in spring brackets, and opener logic issues that don’t show up in normal operation. For a Genie or LiftMaster smart opener, this is also the time to check firmware and sensor alignment for the Wi-Fi and safety systems.
Common Mistakes to Avoid
- Lubricating without cleaning first. Spraying silicone onto a grit-covered roller just creates grinding paste. Wipe the roller and track first, then lubricate. In Rancho Cucamonga’s dust, this order matters more than in most climates.
- Ignoring the balance test because the door still opens. The opener will keep working right up until the day the motor burns out or a spring snaps. The balance test tells you about spring health before the failure, not after.
- Using WD-40 as a garage door lubricant. WD-40 is a water displacer and solvent, not a lubricant. It strips away whatever grease is there and leaves the surface dry within days.
- Oiling a belt-drive opener rail. Chamberlain and LiftMaster belt rails are designed to run dry. Oiling them just collects dust and causes the belt to slip. If the belt is squeaking, it’s misaligned, not under-lubricated.
- Waiting until the weatherseal is visibly falling off. By the time it’s hanging loose, you’ve been losing thermal efficiency and letting in dust for months. The daylight test catches it earlier.
- Lubricating the visible part of the roller instead of the bearing. Greasing the wheel surface doesn’t help the bearing where the actual friction occurs. The bearing is inside the roller housing, and that’s where the spray nozzle needs to be.
- Closing the door on a failing cable. If you see 3 broken wires and you keep using the door, you are one open-close cycle away from a cable snapping and the door coming down on one side. This can damage the door, the track, and anything underneath it.
When to Call a Professional
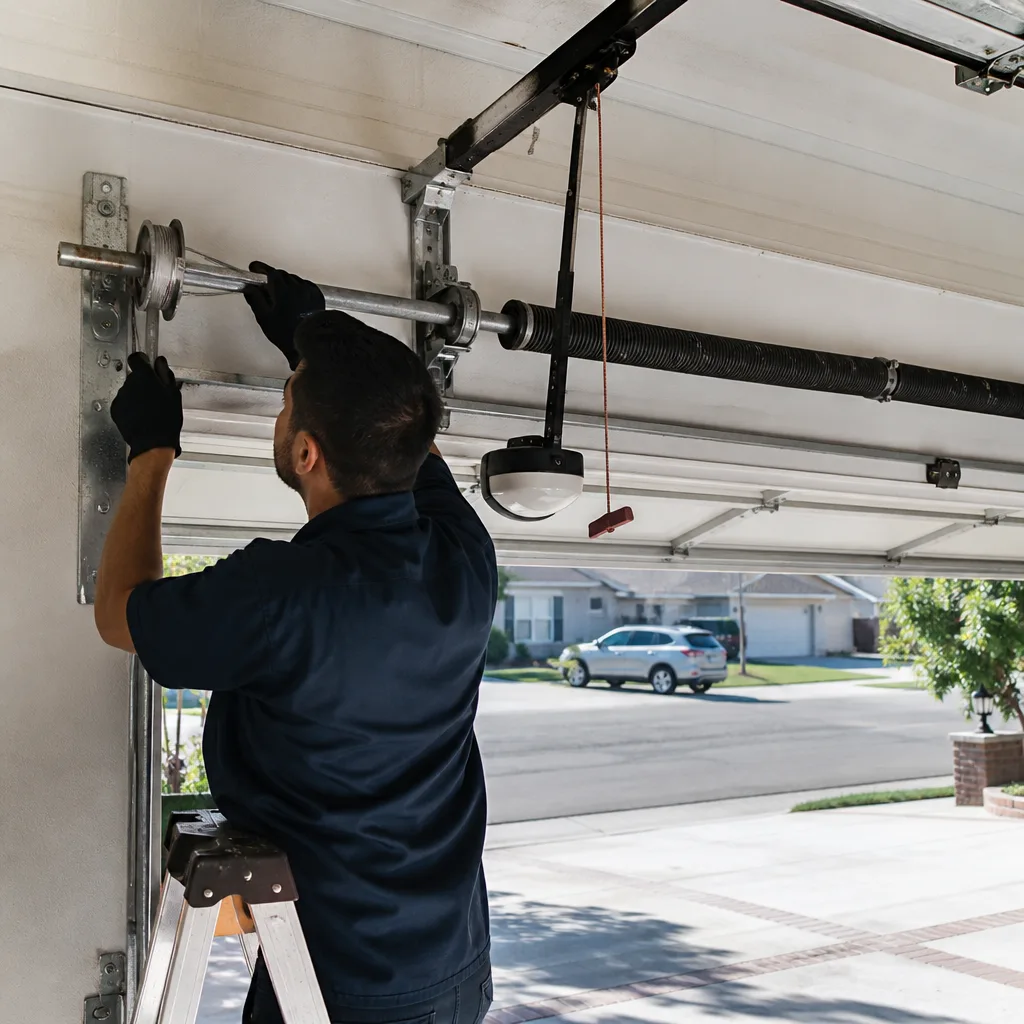
Some maintenance items are observations; others are interventions. If your balance test fails, if you count three or more broken cable wires, if a torsion spring shows a gap wider than a dime, or if any roller has stopped rolling and is sliding, stop using the door and call someone who works on garage doors specifically. These are not slow-degradation problems; they’re the kind of failures that drop a door unexpectedly. The same applies to any safety reversal failure during your 6-month test. Bronze Garage Door Repair offers free estimates in Rancho Cucamonga, call (833) 734-6940. For more on our Garage Door Repair in Rancho Cucamonga, see our service page.
Frequently Asked Questions
Twice a year. The dry heat and Santa Ana dust make Rancho Cucamonga harder on lubricated parts than coastal cities. Late spring and late fall are the two windows we recommend. At minimum, use a silicone spray on hinges and nylon rollers and white lithium grease on torsion springs. If your door is squeaking, you’re already late.
The balance test. Pull the red release cord, manually lift the door to the 3-foot mark, and let go. If it stays, your springs are doing their job. If it drops, the springs are wearing out and your opener is compensating, which shortens its life. Do this every six months. Call (833) 734-6940 if the door fails the test, because a free estimate is cheaper than a replacement opener.
Count the broken wire strands at the bottom bracket. Zero broken wires is a pass. One to two broken wires is a 30-60 day warning. Three or more broken wires means replace immediately. You’re looking for individual wire filaments sticking out from the braid, not just surface fuzz. Cables fail suddenly, and the remaining strands will not hold the door when they go.
Intense UV radiation and sustained heat above 90°F for months at a time break down the plasticizers in rubber seals. Where a national guide might say replace every 3-5 years, in Rancho Cucamonga we see 2-3 year lifespans, especially on west-facing doors that get afternoon sun. Check the seal every six months with the daylight test, and replace before spring when pests are looking for shelter.
No. Several annual checks require specialized tools and trained judgment: measuring torsion spring torque, inspecting cable drum symmetry, calibrating opener force settings against actual door weight, and checking spring bracket integrity. These aren’t visual-checks-you-can-YouTube jobs. Torsion springs in particular are under lethal tension and should only be worked on by a specialist.
We work on LiftMaster, Chamberlain, Genie, and Clopay systems specifically, plus the opener models those brands have made over the years. That includes smart/Wi-Fi openers with myQ or Aladdin connectivity, and older mechanical systems. Because garage doors are all we do, our technicians already know the quirks of these brands before they arrive. See our Garage Door Opener Repair in Rancho Cucamonga page for details.
The Bottom Line
A Rancho Cucamonga garage door needs a checklist that measures, not just a list that reminds. You now have the specific thresholds: a dime-width torsion spring gap, a three-broken-wire cable threshold, a 1/4-inch roller wobble tolerance, a 3-foot balance test benchmark, and a twice-yearly lubrication schedule using the right product for each material. Use the daylight test on your weatherseal before every spring. Separate your 6-month owner tasks from the annual tech visit, and respect the hard line between what to observe and what to call in. For a free estimate on any repair or a full inspection, call (833) 734-6940 or see our Garage Door Installation in Rancho Cucamonga page. Our Bronze Garage Door Repair home page has the full service overview.
Written by the team at Bronze Garage Door Repair, serving Rancho Cucamonga since 2014. Explore more guides & resources.
See the difference
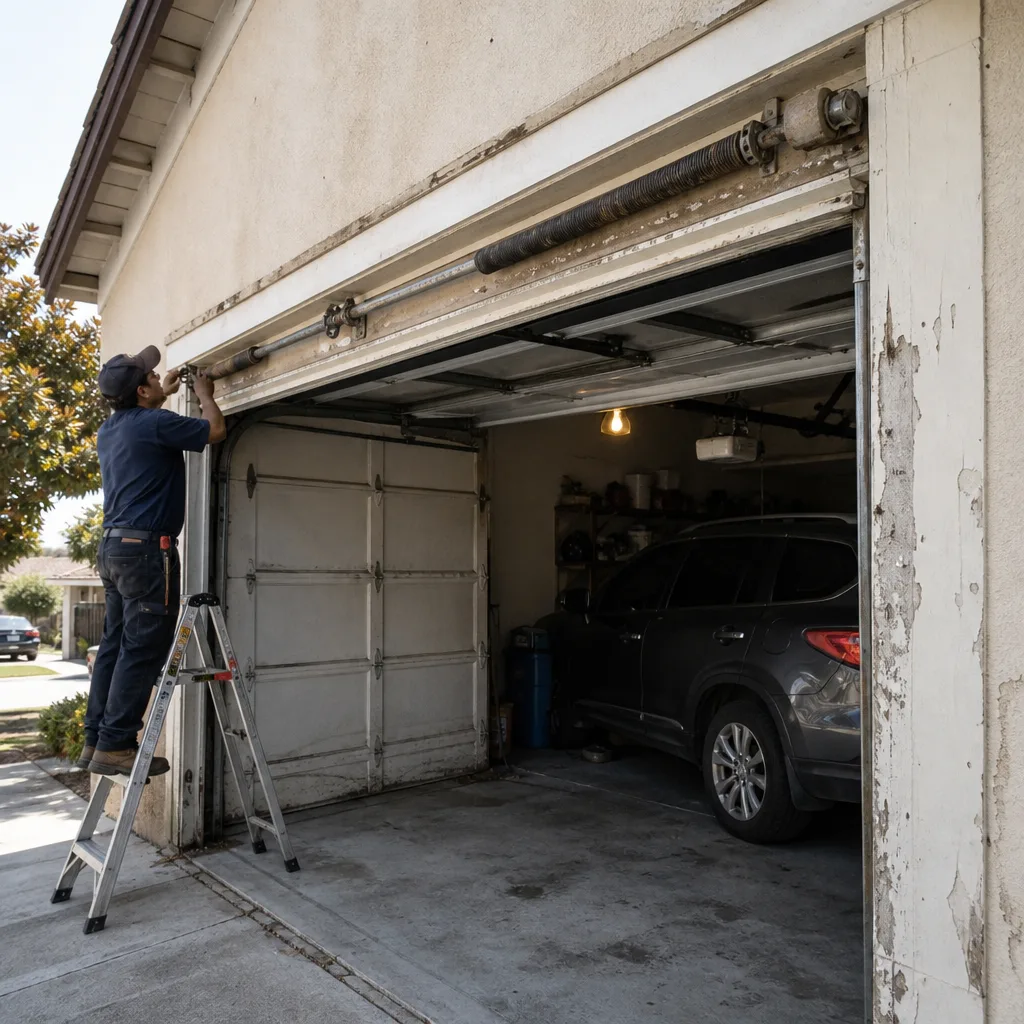 Before
 After
 Before
 After
 Before
 After