

Last updated October 31, 2026
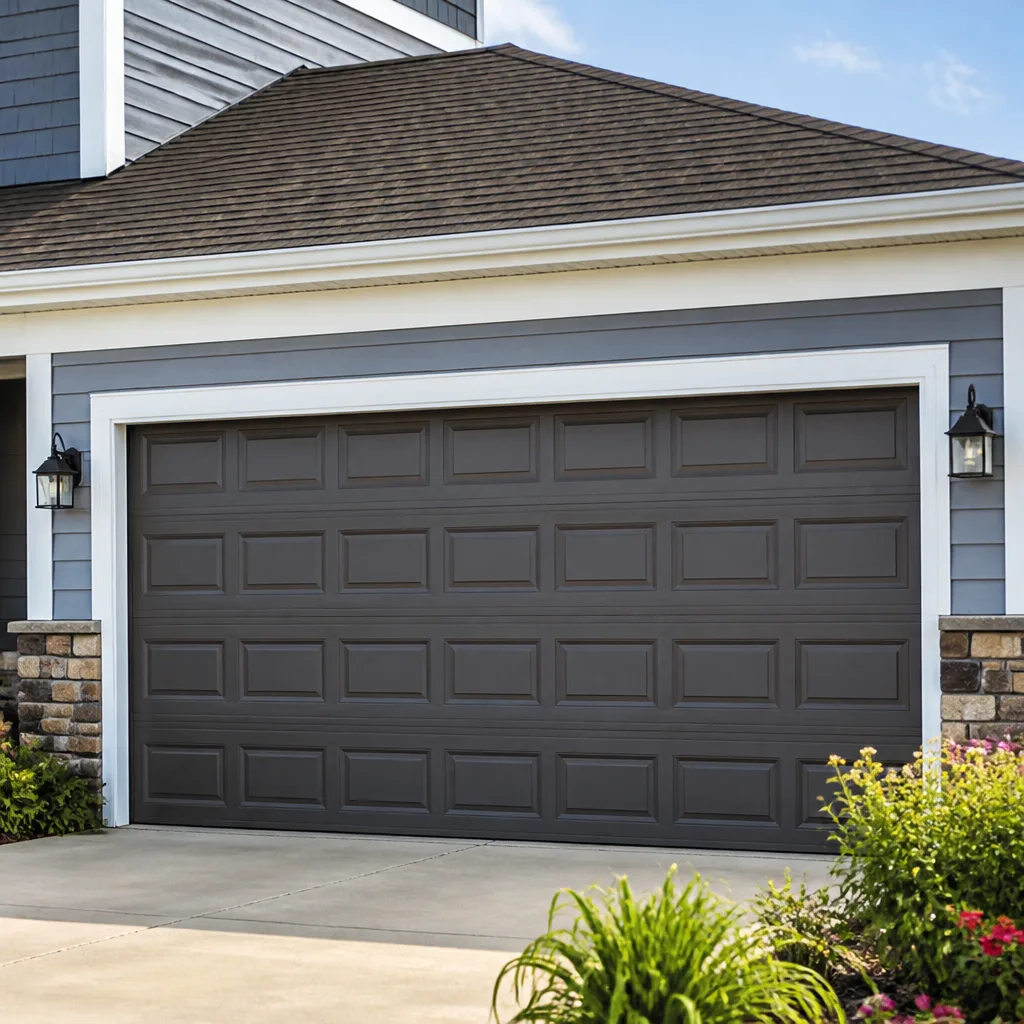 Raised-panel steel
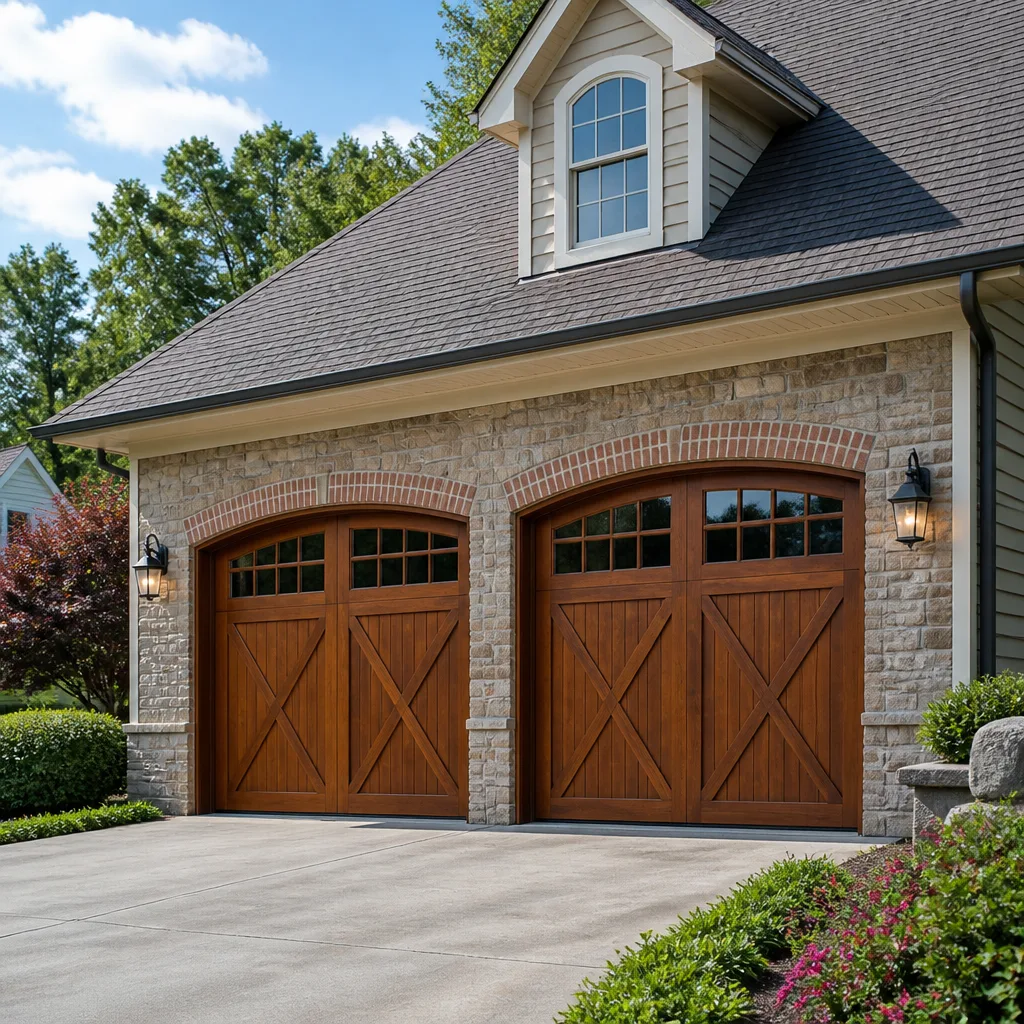 Carriage house
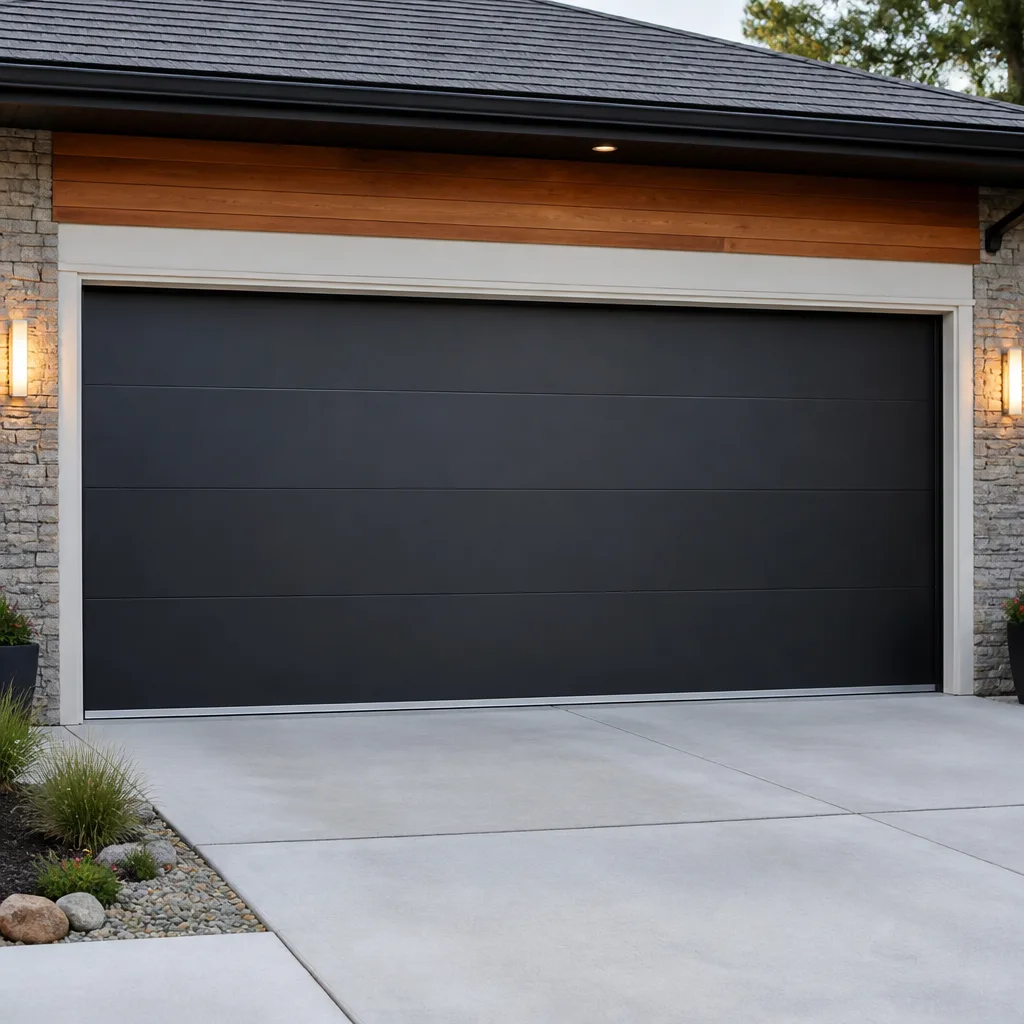 Modern flush
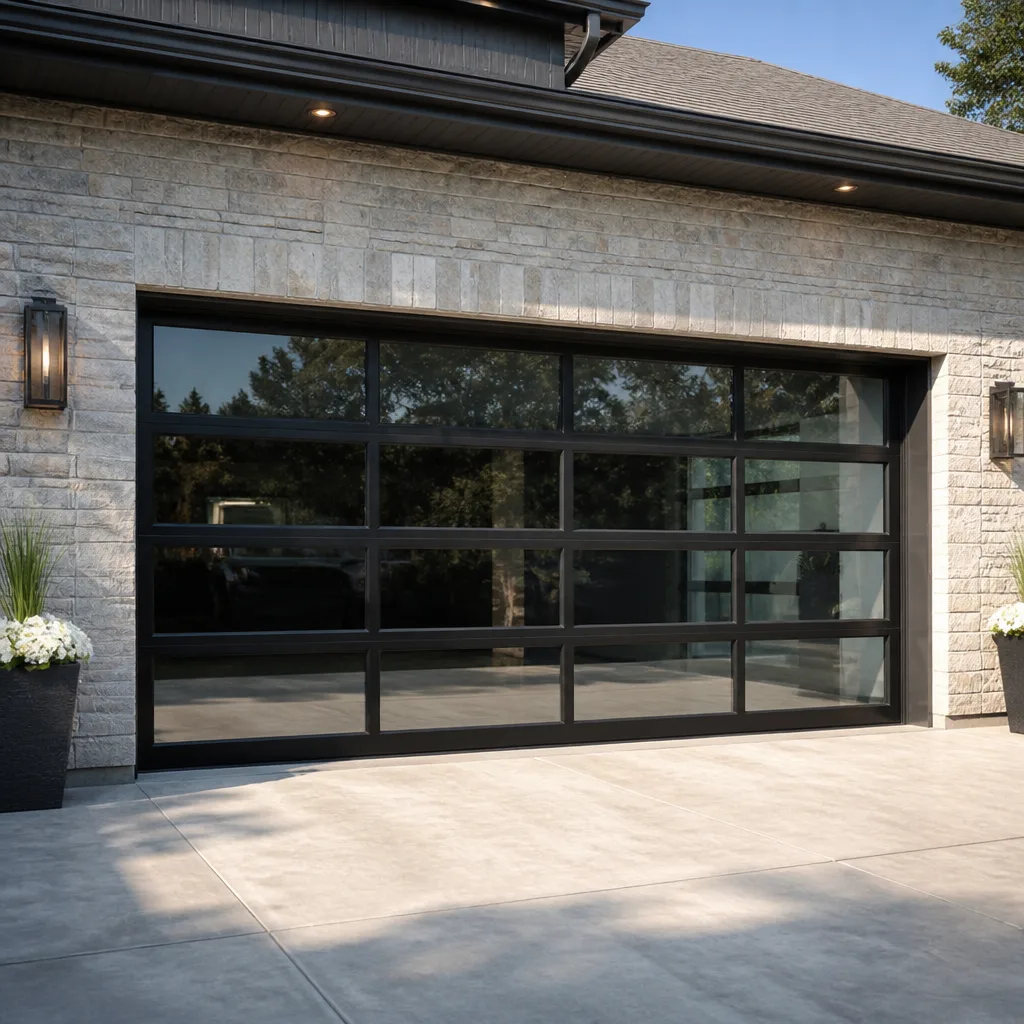 Full-view glass
 LiftMaster openers
 Chamberlain openers
Full 25-point door and opener safety check with every visit - springs, cables, rollers, tracks, and your LiftMaster or Chamberlain opener included
You get a price before we start. It does not change when the truck arrives.
Get your free estimateGarage Door Repair Troubleshooting: Common Problems and How to Fix Them
A garage door that reverses before closing isn’t always a sensor problem. It’s just the most common cause. The second most common cause in Rancho Cucamonga is a force setting knocked out of calibration, and misdiagnosing that costs homeowners an unnecessary sensor replacement call every single week. This guide goes deeper than symptom lists. For each common failure you’ll see the specific component responsible, the diagnostic test you can run before picking up the phone, and the repair path that actually holds up. No filler, no generic advice. Just the troubleshooting framework we use when a homeowner calls us from Alta Loma, Etiwanda, or anywhere else in the Inland Empire foothills.
Quick Answer
Most garage door problems trace to one of five components: the springs, the cables, the opener’s force and travel settings, the safety sensors, or the tracks and rollers. Start with a visual inspection of the springs and cables, then test the opener’s balance by disconnecting it, then check the sensors. If the door is off-balance, makes grinding noises, or has visible cable or spring damage, stop and call a garage door specialist at (833) 734-6940. Working on high-tension springs and cables without the right tools and training causes serious injuries every year.
Styles & brands we work with
Table of Contents
- Broken Spring or Snapped Cable: How to Tell Without Touching Anything
- Door Reverses Before Closing: The Three Causes Nobody Checks
- Slow or Sluggish Open: It’s Rarely the Motor
- Grinding, Squealing, or Popping Noises: What Each Sound Means
- Remote Dead Zones and Wall Button Failures
- Error Codes on myQ and Aladdin Connect: Which Ones Need a Tech
- Sagging Panels and Door Sag: Structural Problems vs. Cosmetic Wear
- Common Mistakes to Avoid
- When to Call a Professional
- Frequently Asked Questions
Broken Spring or Snapped Cable: How to Tell Without Touching Anything
This is the most misdiagnosed failure in garage door repair. We get calls from Rancho Cucamonga homeowners who say “the cable snapped” when the spring broke, and the opposite. Here’s how to tell the difference from six feet away, without putting a hand on any component.
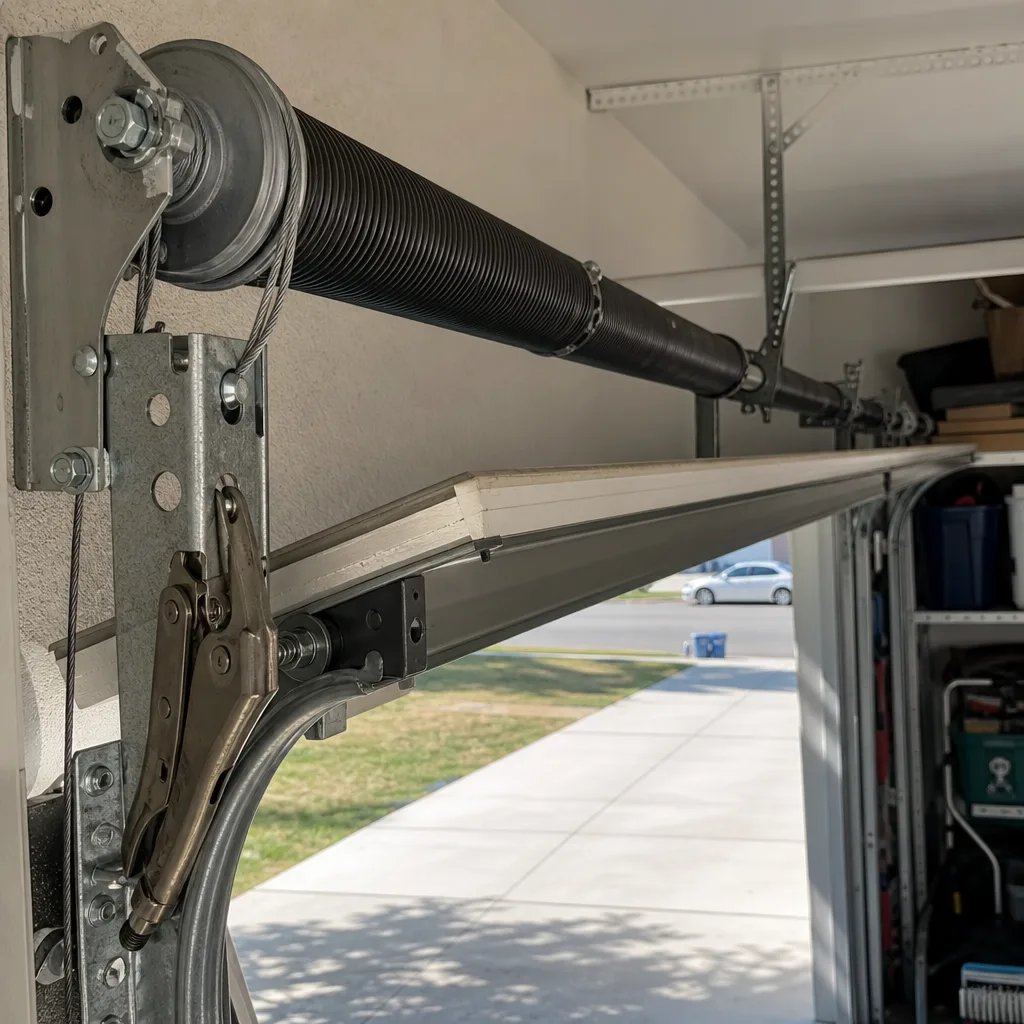
A torsion spring sits on a metal shaft directly above the closed door. When it breaks, you’ll see a visible gap in the spring coil, usually a two to four inch separation. The spring will look split into two pieces that no longer line up. You might also find a small piece of metal coil on the garage floor or hear a sound like a firecracker when it happened. A torsion spring break is loud and unmistakable.
A snapped cable looks different. The cable is the thin steel wire that runs along the sides of the door, attaching to the bottom bracket and winding around a drum near the top. When a cable snaps, you’ll see a loose strand hanging from the drum or the bottom bracket, or the door will hang unevenly, one side higher than the other. The spring may still be intact and under tension.
Here’s the critical distinction: a broken spring usually leaves the door impossible to lift even a few inches, because the counterbalance is gone. A snapped cable, if the spring is still good, often lets the door lift but it cocks sideways and jams in the track. In our experience with Wayne Dalton and Raynor doors, cable failures tend to follow worn bearings in the bottom bracket, while spring failures on LiftMaster and Craftsman systems often happen after years of cycle fatigue.
What to Do in Either Case
- Do not attempt to open the door using the opener. Disconnect it with the red emergency release handle only if the door is fully closed, and even then, leave the door alone.
- Do not remove any bolts, brackets, or cables. The spring assembly on the shaft is under hundreds of pounds of stored torque.
- Visually confirm which component failed using the descriptions above. Take a photo from a safe distance.
- Call (833) 734-6940. A broken spring or cable repair in Rancho Cucamonga typically requires replacement of both springs (they wear evenly) or both cables (same logic). We quote the full price before any work begins.
A final note for the handy homeowner: garage door springs and cables are the two components we never recommend touching. A torsion spring under load contains enough energy to break bone or cause fatal injury if it releases unexpectedly. Visual identification is the limit of safe DIY here.
Door Reverses Before Closing: The Three Causes Nobody Checks
Your door starts to close, moves a few inches or a few feet, then reverses back up. The common assumption is photo-eye sensor misalignment. That’s often right. But not always, and the other causes are cheap to rule out before you replace anything.
Cause 1: Photo-Eye Misalignment or Obstruction
The photo eyes sit on each side of the door track, about six inches off the ground. Each has a small LED. When aligned, one glows green and the other glows amber or red, depending on the manufacturer. When misaligned, one or both LEDs flicker or go dark. The fix that works on most doors installed in Rancho Cucamonga: loosen the wing nut on the sending or receiving unit, adjust the angle until both LEDs are solid, then tighten. Check for spider webs, dust, or a stray leaf interrupting the beam. Ten minutes, no parts.
Cause 2: Sunlight Interference
This one surprises people. Direct sunlight hitting the receiving photo eye can overwhelm the sensor on bright Southern California days, which we get a lot of in Rancho Cucamonga, especially on west-facing garages in the afternoon. The door refuses to close because the sensor thinks the beam is broken. Test: stand so your shadow falls across the receiving eye, then try the close cycle. If the door closes while shaded, you’ve found the cause. Fixes range from swapping the eyes (send and receive swap sides, so the receiver faces away from the sun) to installing a small shade baffle. Some Genie and LiftMaster models ship with sun shields for this exact reason.
Cause 3: Force Setting Drift
This is the overlooked one. Garage door openers use a force adjustment to determine how much resistance they’ll push against before reversing. Over time, as bearings wear and the door moves with more friction, the opener’s force threshold gets tight. The door hits a point where the opener thinks it’s crushing something, and reverses. Homeowners misdiagnose this as sensor failure and replace perfectly good photo eyes. The better test: disconnect the door from the opener with the emergency release, and open and close the door by hand. If the door is heavy in one spot or hard to move through part of the travel, the problem is mechanical friction, not the sensors. The opener is doing its job protecting you from a door that’s binding. The fix is servicing the rollers, hinges, and track, then recalibrating the force limits on the opener. On LiftMaster and Chamberlain units, force adjustment lives in the travel limit menu. On Genie, it’s under the “Force” programming sequence. If you’re not comfortable with opener menus, a door specialist can have this dialed in during a single visit.
The Three-Step Self-Test That Works Across LiftMaster, Chamberlain, and Genie
- Test the balance. Disconnect the opener with the emergency release. Lift the door halfway by hand and let go. It should hold position. If it drops or rises, the springs are losing tension and need adjustment or replacement. A door that won’t stay at half height forces the opener’s motor to work harder and can cause mid-travel reversal.
- Test the force. Run the door through a full open-close cycle while watching it. If it slows perceptibly at the same point every cycle, that’s the friction point. Mark it mentally, then inspect the track at that height for a dent, misalignment, or a roller that’s rubbing.
- Test the sensors. With the door open and the sensors near the floor, wave a broom handle through the beam while the door is closing. The door should reverse instantly. If it doesn’t, the opener’s sensor circuit or the sensors themselves need attention. On most LiftMaster and Chamberlain models, the opener won’t close at all with a faulted photo-eye circuit. On Genie openers, a solid red and green combination indicates correct alignment.
If all three tests pass and the door still reverses intermittently, the opener’s logic board may be failing. That’s a replacement call, not a repair call, and we can tell you over the phone what to expect based on the model number.
Slow or Sluggish Open: It’s Rarely the Motor
A door that opens slowly or seems to labor under load gets blamed on the opener motor by default. In our experience across Rancho Cucamonga garages, the motor is usually the victim, not the culprit. The opener is a dumb machine: it applies force and watches the result. When the door gets heavier or the track gets tighter, the opener responds by working harder and moving slower, until it eventually burns out.
Here’s what to check before condemning a LiftMaster, Genie, or Craftsman opener:
- Roller wear. Nylon rollers with worn-out ball bearings cause rolling resistance that makes the door sluggish. Steel rollers with no bearings at all are even worse. If your rollers haven’t been replaced in a decade, they’re a prime suspect. In Rancho Cucamonga’s dry climate, nylon roller bearings can also crack from heat cycling and need replacement even earlier.
- Track alignment. If the vertical and horizontal track sections have shifted, the door’s rollers bind at the transition point. You’ll usually see the door hesitate or jerk at that exact spot. Check the bolts that hold the track brackets to the wall. A loose bracket is a common culprit.
- Spring fatigue. Springs lose tension as they approach the end of their cycle life, typically rated between 10,000 and 20,000 cycles depending on quality. When a spring weakens, the opener carries progressively more of the door’s weight. A door that becomes noticeably slower over the course of several months suggests tired springs.
- Lubrication failures. Rollers, hinges, and the torsion spring all need periodic lubrication. In the Inland Empire’s dry, dusty conditions, old lubricant picks up grit and turns into a grinding paste. The fix is cleaning and re-lubing with a garage-door-specific lithium or silicone lubricant, not WD-40, which attracts dust and washes out the existing lubricant.
The quick test: disconnect the opener and operate the door by hand. If it’s difficult to move smoothly, the problem is mechanical. If it moves easily by hand but struggles under opener power, then you’re looking at the opener itself, and that’s a diagnosis call for a garage door opener repair in Rancho Cucamonga.
Grinding, Squealing, or Popping Noises: What Each Sound Means
Sound is a diagnostic tool. Different failure modes produce different noises, and once you know what you’re hearing, you can pin down the failing part before anything gets worse.
Squealing or High-Pitched Screeching
This usually means metal-on-metal contact where there should be a bearing. The most common source is a seized ball bearing in a roller. The roller stops rolling and instead drags along the track, and the metal wheel grinding against the metal track produces that high-pitched noise. The second common source is the torsion spring itself, when the spring rubs against its mounting bracket or the shaft bearings dry out. The fix for rollers is replacement. Rollers are wear items, and if one has seized, its neighbors aren’t far behind. The fix for the spring is repositioning or bearing lubrication, which should be done by a technician because of spring tension.
Grinding or Rumbling During Travel
A low grinding noise that follows the door’s movement usually points to rollers that have gone flat-spotted from lack of lubrication, or a track that’s filled with debris. In Rancho Cucamonga, dust and the occasional tumbleweed fragment end up in the track, especially if you leave the garage door open frequently. Clean the track first with a shop vacuum and inspect the rollers for flat spots. If you see flat spots, the rollers need replacement.
Popping or Snapping During Operation
This is more serious. A single loud pop followed by the door refusing to move normally often means a section hinge failed or a roller slipped out of the track. A pop accompanied by the door suddenly feeling heavier at one end suggests a broken cable strand, which usually happens before full cable failure. Stop operating the door and inspect visually. If a cable is frayed with broken strands visible, both cables need replacement. Continuing to operate a door with a frayed cable risks the cable whipping free under tension, and that’s an injury risk you don’t take.
Rattling or Vibrating
Loose hardware rattles. The door has dozens of bolts and screws: hinge bolts, track bracket bolts, panel-to-stile fasteners. Over hundreds of open-close cycles, they back out. A rattle that gets progressively louder as the door moves usually means a track bracket has loosened from the wall or the opener rail has come loose from the ceiling. Check the mounting hardware with a wrench. If any bolt takes more than a quarter turn to tighten, you’ve found the source. For loose opener rails, the fix is re-seating the rail mounting strap and re-tightening.
Remote Dead Zones and Wall Button Failures
Your wall button opens the door fine, but the hand-held remote only works when you’re close to the opener, or only from certain spots in the driveway. This is a radio frequency problem, not a motor problem.
Why the Remote Has a Dead Zone
Garage door remotes operate on frequencies that are shared with many other devices. In Rancho Cucamonga, with dense residential development and the constant RF noise from power lines, neighbors’ openers, and consumer Wi-Fi, signal interference is real. If the remote works when you’re within 10 feet of the opener but not from the street, signal blockage or interference is the likely culprit. Common culprits: a new LED bulb installed in the opener’s light fixture that emits electromagnetic interference, a neighbor with a similar opener frequency, or a metal object (like a new refrigerator or shelving unit) now sitting between the garage door and your usual parking spot.
WalL Button Works, Nothing Else Does
If the wall-mounted button works but the remote doesn’t, the problem is isolated to the transmitter or the opener’s receiver board. Try replacing the remote battery first. That fixes roughly 20 percent of these calls over the phone. If a new battery doesn’t resolve it, the remote may have lost programming, or the receiver board has failed. On Chamberlain and LiftMaster openers, the receiver is a modular board that can be replaced without replacing the whole opener. On older Craftsman units, the receiver board is also replaceable, but parts availability is getting thin. If we identify a receiver board failure on a Craftsman opener that’s more than 15 years old, the math usually favors a new opener rather than chasing a part that’s no longer manufactured.
Here’s the troubleshooting sequence we use:
- Replace the battery. Always first.
- Test the remote from inside the garage, door closed, standing directly under the opener. If it works there but not outside, the opener’s receiver sensitivity or antenna position is the issue. Check that the antenna wire is hanging straight down and hasn’t been bent or pushed against metal.
- If the remote won’t work from any distance, try re-pairing it. On LiftMaster and Chamberlain units with a yellow learn button, press and release the learn button, then press the remote button. On Genie, the pairing sequence varies by model year.
- If re-pairing fails, the remote itself is likely dead. Most remotes are inexpensive enough that replacement is the fastest path. Check the model number on the back of the remote and match it. We carry remotes compatible with LiftMaster, Chamberlain, Genie, Craftsman, and Raynor systems, and we can program them on-site.
Keypad Won’t Open the Door
The exterior keypad uses its own programming, separate from the remotes. If the keypad stops working, start with fresh batteries. If that doesn’t bring it back, the keypad likely needs reprogramming, which requires the learn button on the opener. The sequence varies by brand and model year. Keypads also fail from weather exposure. In the Inland Empire’s summer heat, direct afternoon sun on a west-facing keypad can kill the internal electronics in a few years. If the keypad is cracked, sun-bleached, or unresponsive after new batteries and a reprogramming attempt, replacement is the fix.
Error Codes on myQ and Aladdin Connect: Which Ones Need a Tech
Modern openers talk back. If you have a LiftMaster or Chamberlain opener with myQ, or a Genie with Aladdin Connect, you may see error codes in the phone app or flashing LED sequences on the opener itself. Some of these are noise; some are real.
Codes That Reset with a Power Cycle
Any error that appears immediately after a power outage, a brownout, or a firmware update freeze is worth clearing with a full power cycle. Unplug the opener, wait 30 seconds, plug it back in. This clears transient logic errors on LiftMaster, Chamberlain, and Genie units alike. If the error does not return after a full open-close cycle, it was a software glitch. This fixes about 30 percent of the error-code calls we get in Rancho Cucamonga, where summer grid strain causes brief voltage sags.
Codes That Mean a Real Problem
- Photo-eye sensor errors. On LiftMaster and Chamberlain openers, a sensor fault shows as an up-arrow code or a flashing LED on the opener motor unit. The app may say “Safety sensors misaligned.” Check alignment and obstruction before anything else. If the sensors are aligned and clean and the error doesn’t clear, one of the two sensors has failed. They’re paired replacements.
- Force profile errors. On Genie Aladdin, a “Force Set” alert usually means the opener detected excessive force during travel, which itself means mechanical resistance somewhere. This is a symptom code, not a root-cause code. The door needs a mechanical check.
- Logic board or RPM sensor failures. On LiftMaster models, a “1-5” or “1-6” flash pattern can indicate the internal RPM sensor or logic board has failed. These aren’t field-repairable. The fix is a board replacement or a new opener, depending on age and model.
If you’re seeing an error code and you’re not sure whether it’s critical, call (833) 734-6940 with the model number and the error description from the app. We can often tell you over the phone whether it’s a power-cycle fix or a service call. And if it is a service call, our technicians are already familiar with the myQ and Aladdin platforms, so there’s no learning curve at your address.
Sagging Panels and Door Sag: Structural Problems vs. Cosmetic Wear
A visible sag in the middle of your garage door, or a door that seems to lean to one side, can mean two very different things. One is cosmetic. One is structural. Getting this wrong on your own is expensive.
Panel Sag: When the Door Bows in the Middle
Over time, steel garage door panels can develop a bow, especially on wider double doors. This is often most visible when the door is open and you’re looking at it from inside the garage. The cause is a combination of repeated thermal expansion in the Inland Empire heat and the natural flex of a long horizontal panel under its own weight. This is usually cosmetic and doesn’t affect operation. The panel still fits the track, the door still balances, and the opener still moves it smoothly. If you can live with the look, no mechanical repair is needed.
However, if the bow is severe enough that the panel is touching the frame or the door is binding at the top of the opening, that’s a different story. A panel that’s warped enough to bind needs replacement, and depending on the door age and manufacturer (Clopay, Amarr, and Wayne Dalton all have different panel profiles), it may make more sense to replace the whole door rather than fight a mismatched panel. We’ll tell you honestly which path costs less in the long run. That’s part of our garage door installation service in Rancho Cucamonga.
Door Rack or Lean: When the Door Itself Sags
A door that hangs crooked in the opening, or that visibly shifts side to side as it moves, has a structural problem. Common causes include a failing end bearing plate, a loose track bracket, or uneven spring tension. This is not cosmetic. A door that’s racking puts uneven stress on the hinges, rollers, and opener, and it accelerates wear on every component. It also becomes increasingly dangerous as the imbalance grows.
The diagnostic: with the door closed, look at the gap between the door and the jamb on both sides. If the gap is even at the top but wider on one side at the bottom, the door is racking. If the gap is uneven at the top, the track or the door itself has shifted laterally. This is a repair call, not a DIY project. The fix involves re-aligning the track, checking the end bearing plates, and re-balancing the spring tension, and those last two involve the most dangerous parts in the system.
Common Mistakes to Avoid
- Replacing photo-eye sensors before checking sunlight interference. Afternoon sun hitting west-facing garage doors in Rancho Cucamonga causes more false sensor faults than actual sensor failures. Shade the eye with your body and retry the close cycle before spending money on new sensors.
- Using WD-40 on rollers and hinges. WD-40 is a penetrant and cleaner, not a garage-door lubricant. It strips the existing lubricant and attracts dust, turning the track into a grinding surface. Use a lithium or silicone lubricant specifically formulated for garage door hardware.
- Lifting a door with a broken spring. When a torsion spring breaks, the door’s full weight is free. That’s hundreds of pounds. If it slips, it comes down hard. Never attempt to manually lift a door with a visibly broken spring.
- Continuing to operate a door with a frayed cable. A cable with broken strands is a failure waiting to strike. The remaining strands can snap without warning, and a cable whipping free under tension is dangerous. Stop using the door and call for service.
- Ignoring a noisy door because it still works. Sounds are early-warning signals. A squealing roller is a $35 part. A seized roller that overheats and damages the track is a bigger repair. A popping sound that prefaces a cable break is a serious problem. Listening saves money.
- Tightening bolts and brackets without checking why they loosened. A track bracket that backs out usually means the door’s pulling against it, which means the door is binding or out of balance. Tightening the bolt masks the symptom. Find the root cause.
- Assuming an old opener is worth repairing. A Craftsman or Raynor opener that’s 20 years old has lived its service life. If the board fails or the motor burns out, replacement is usually the better financial decision than hunting for discontinued parts. We’ll give you the honest math on a replacement Bronze Garage Door Repair home visit.
When to Call a Professional
Some repairs are safe to attempt: cleaning photo-eye lenses, tightening loose hardware, replacing remote batteries, programming a replacement remote. Some are not. Any repair involving torsion springs, extension springs, cables, bottom brackets, or track re-alignment carries a real injury risk and should be handled by someone with the right tools and training. If the door is off-balance, if the cable is frayed, if the spring is broken, or if the opener is emitting a burning smell, stop and call. Bronze Garage Door Repair offers free estimates in Rancho Cucamonga. Call (833) 734-6940 and we’ll tell you what we think the problem is, what it will cost, and whether it’s a job you could handle yourself. We’d rather give you a straight answer than watch you get hurt.
Frequently Asked Questions
Most our Garage Door Repair services in Rancho Cucamonga run between $125 and $400, depending on the component. A roller or hinge replacement is at the lower end, a spring pair replacement at the upper end. A full opener replacement runs higher. We quote the exact price before any work starts. Call (833) 734-6940 for a free estimate, no surprises.
In most cases, yes. Broken springs, snapped cables, roller replacements, and opener repairs can often be completed the day you call if you’re within our Rancho Cucamonga service area. Call early for same-day scheduling at (833) 734-6940.
No. We quote the work before anything starts, and the quoted price is the price. If we find something unexpected during the repair, we stop and show you what we found before doing anything that changes the scope.
Yes. Our trucks are stocked with springs, cables, rollers, hinges, sensors, remotes, and opener boards for LiftMaster, Chamberlain, Genie, Clopay, Amarr, Wayne Dalton, Craftsman, and Raynor systems. Most repairs are completed in a single visit.
We work on LiftMaster, Chamberlain, Genie, Clopay, Amarr, Wayne Dalton, Craftsman, and Raynor garage doors and openers specifically. If your door or opener carries any of those names, we already know its quirks before we arrive. For garage door repair in Rancho Cucamonga, brand familiarity cuts diagnosis time in half.
Loudness is a symptom, not a failure by itself. A door that’s suddenly louder than it was a month ago usually has a developing problem: a failing roller, a dry spring, loose hardware. It may not fail today, but it won’t get quieter on its own. Call (833) 734-6940 and describe the sound. We’ll tell you whether it’s something to address now or something that can wait.
The Bottom Line
Garage door troubleshooting isn’t about guessing. It’s about mapping the symptom to the component, and the component to the repair. A reversing door might be sensors, sunlight, or force calibration. A slow door is usually mechanical friction, not a tired motor. A grinding noise has a specific source, and a popping noise is a warning. The goal is to stop the problem at its root, not patch it until it recurs. If you’re in Rancho Cucamonga and you’ve worked through what’s in this guide but the door still isn’t right, call (833) 734-6940. We’ll diagnose it over the phone, give you an honest answer, and if it needs a visit, we’ll tell you exactly what it costs before we touch a bolt.
Written by the team at Bronze Garage Door Repair, serving Rancho Cucamonga since 2014. Explore more guides & resources on our blog.
See the difference
 Before
 After
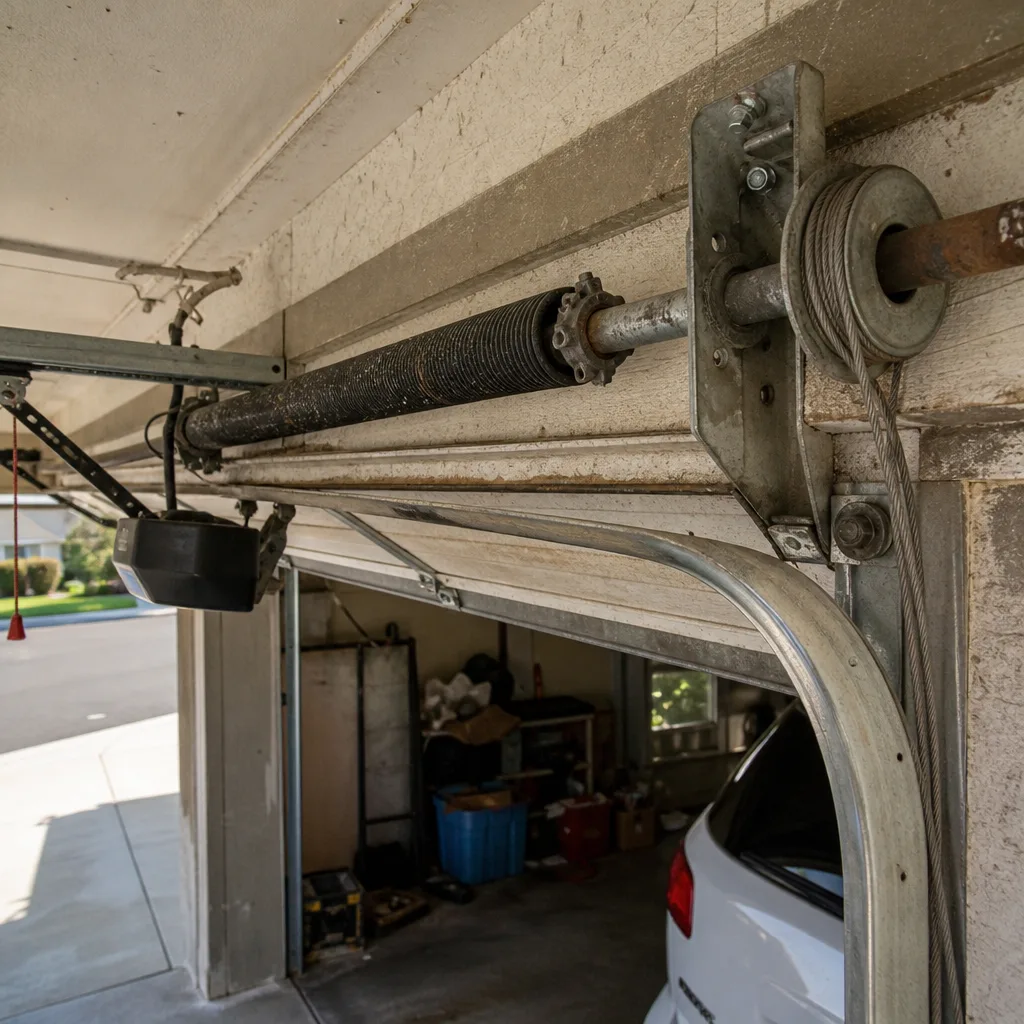 Before
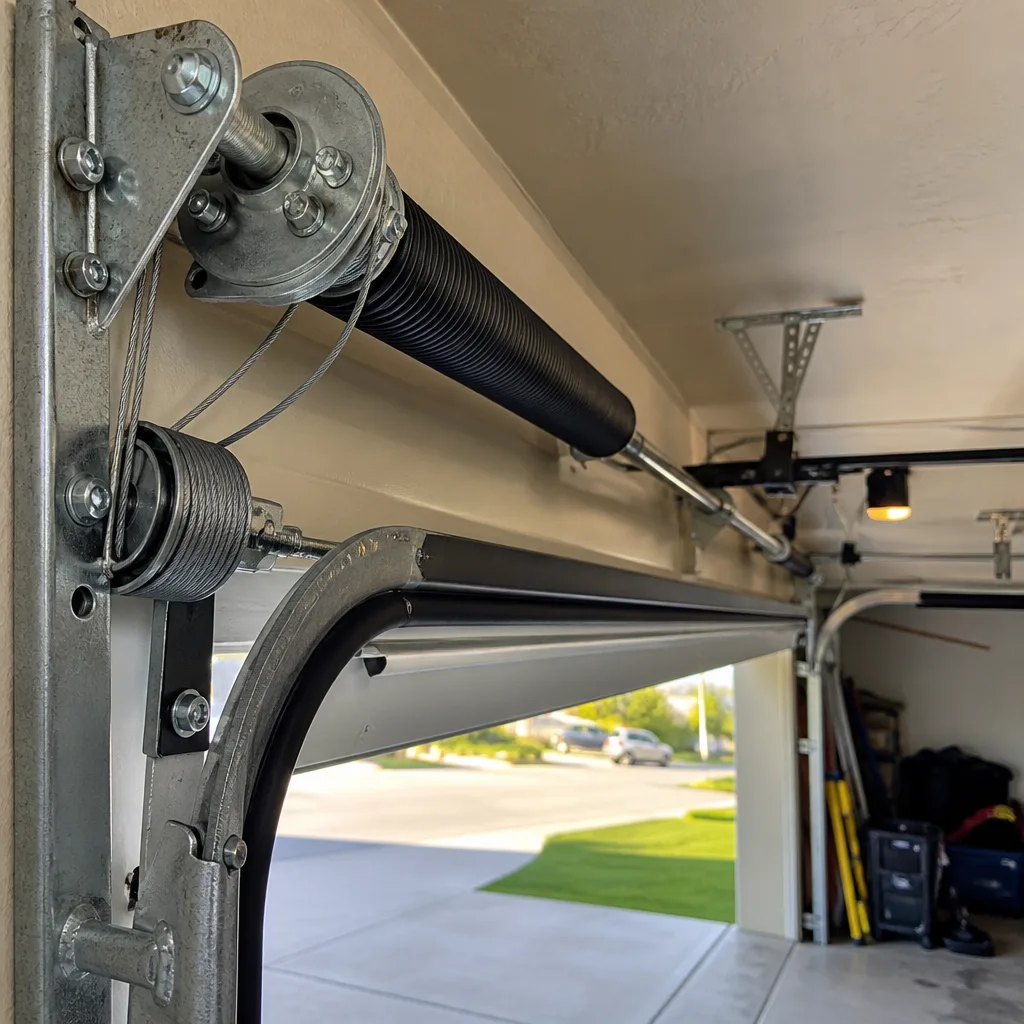 After
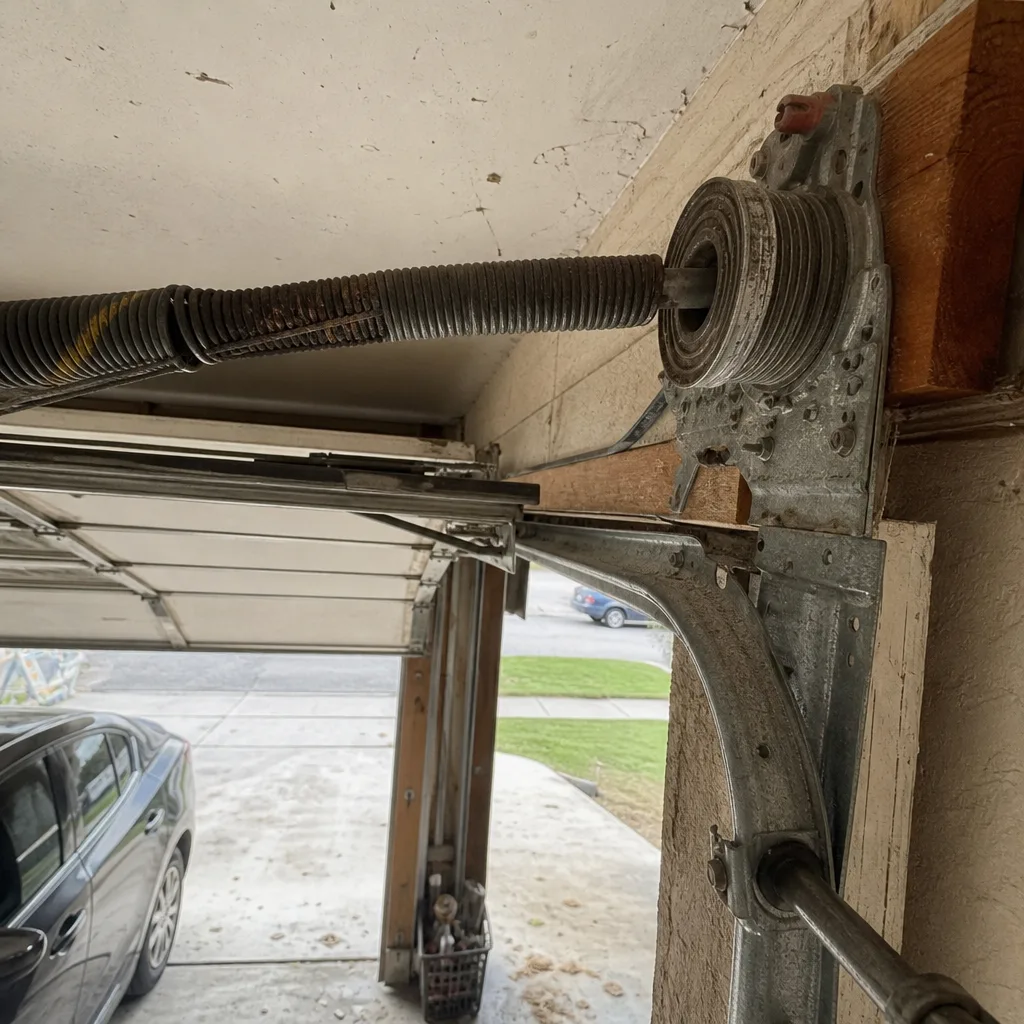 Before
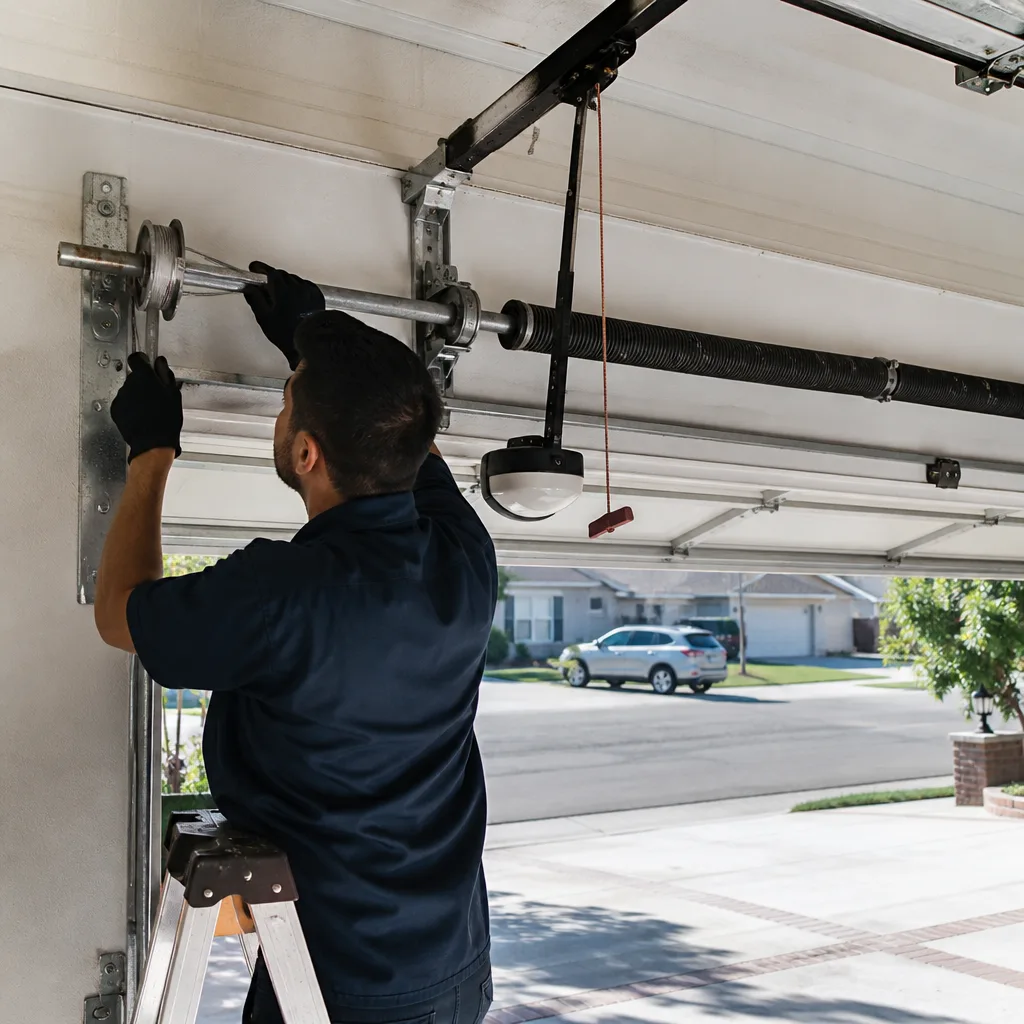 After