

Last updated October 31, 2026
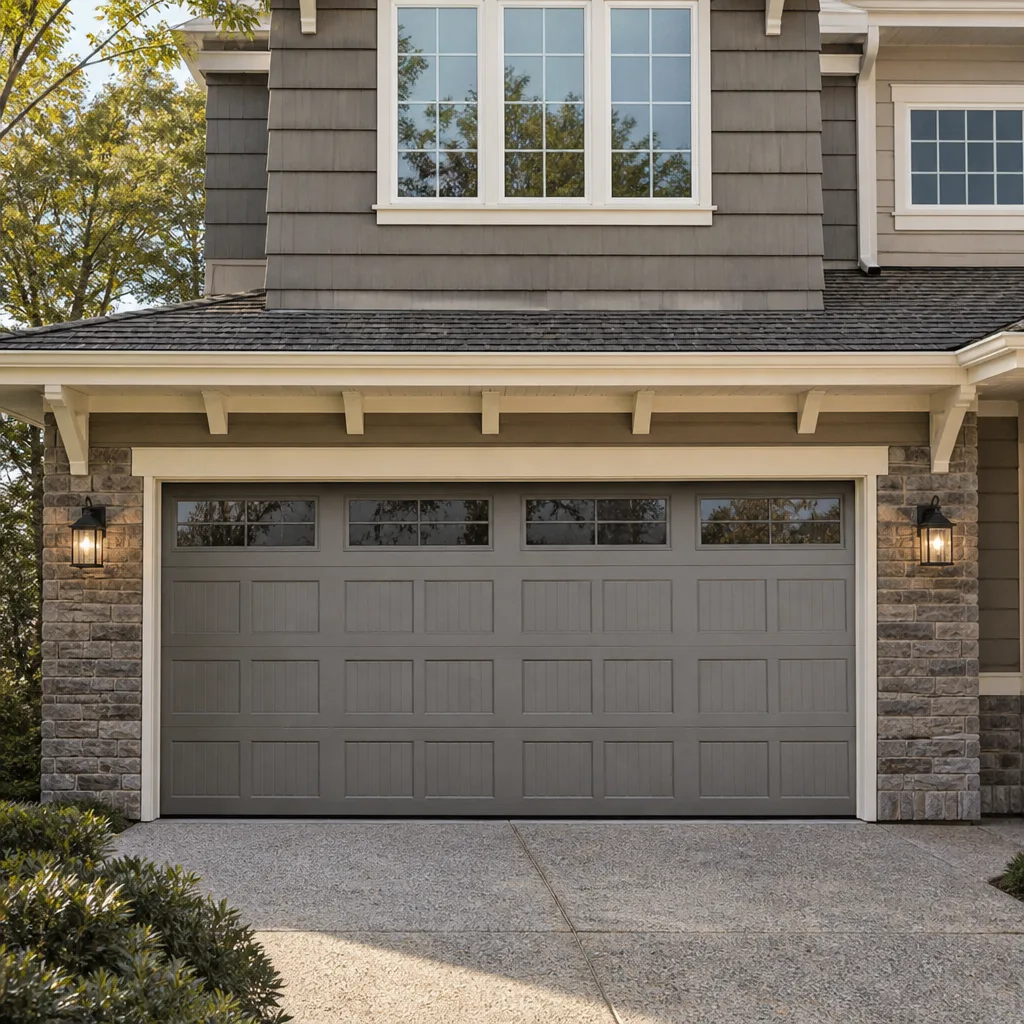
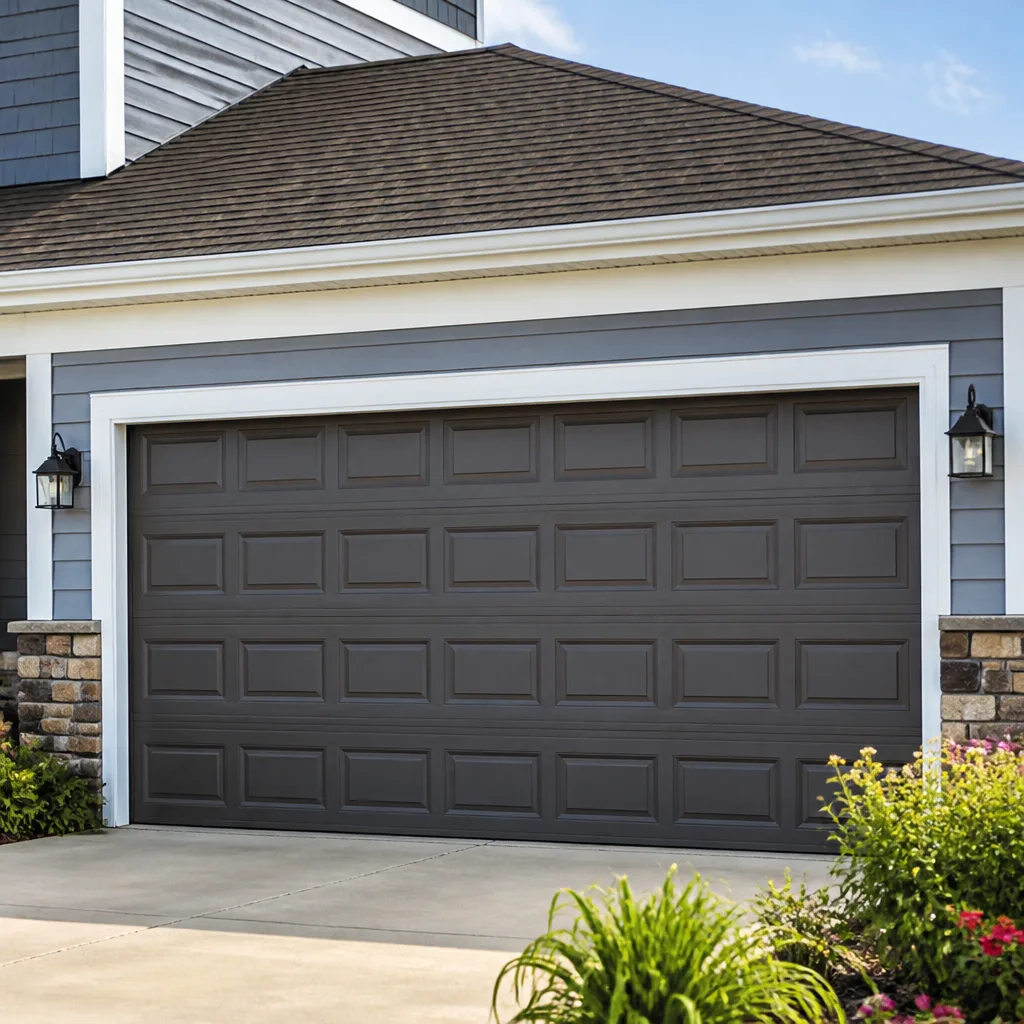 Raised-panel steel
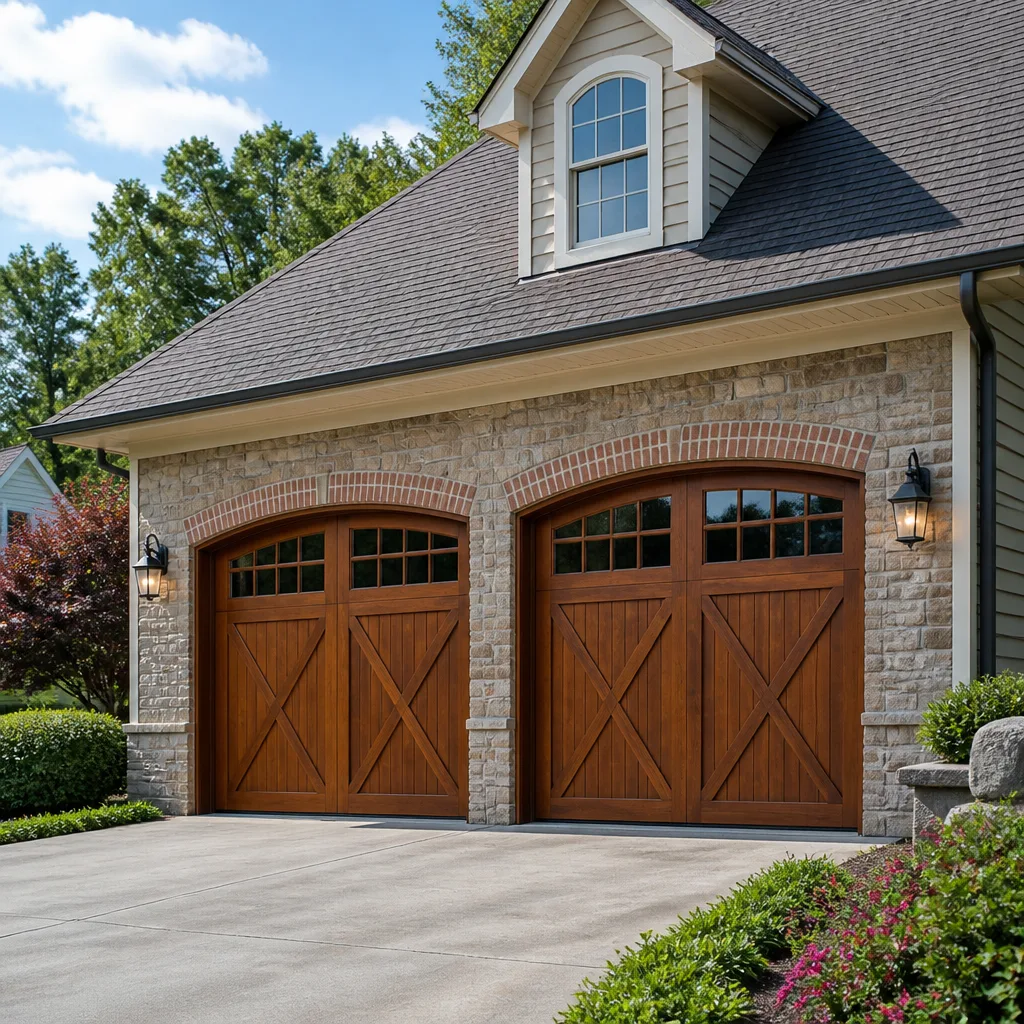 Carriage house
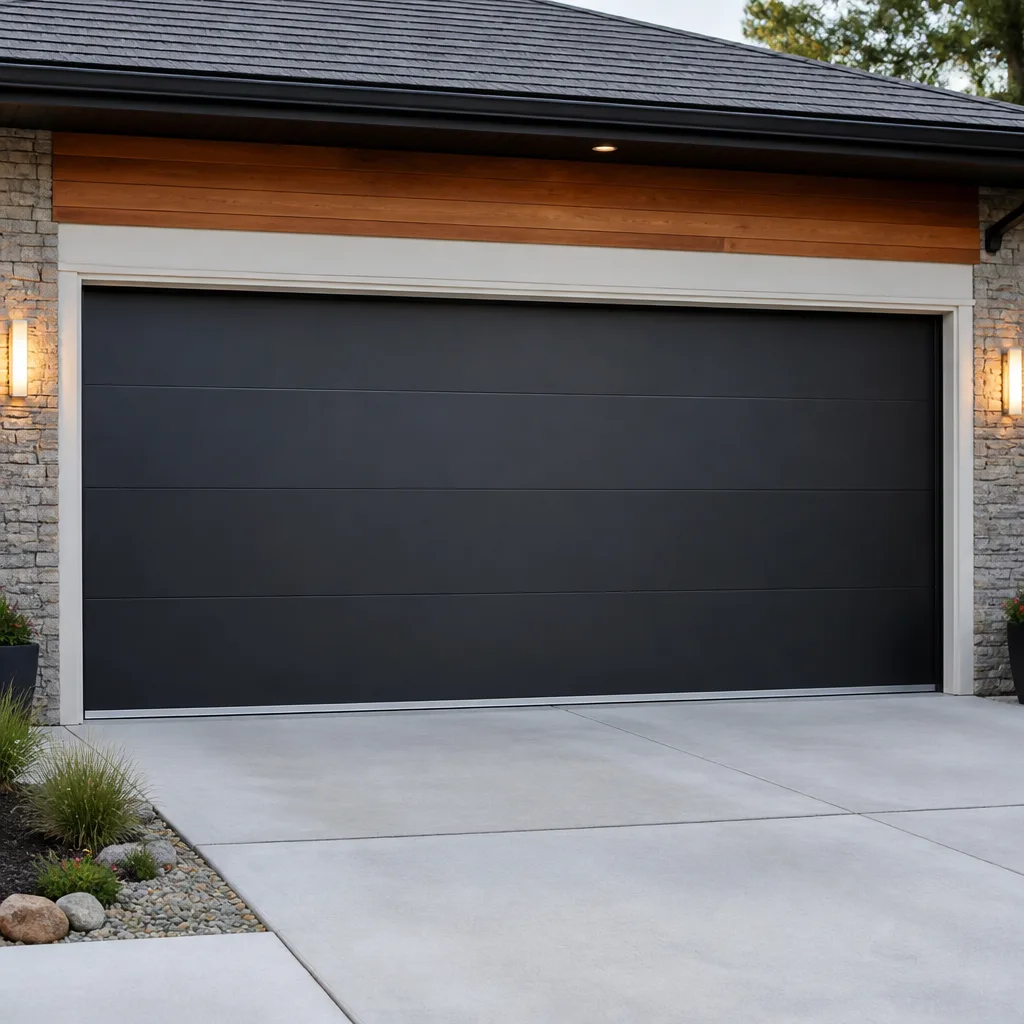 Modern flush
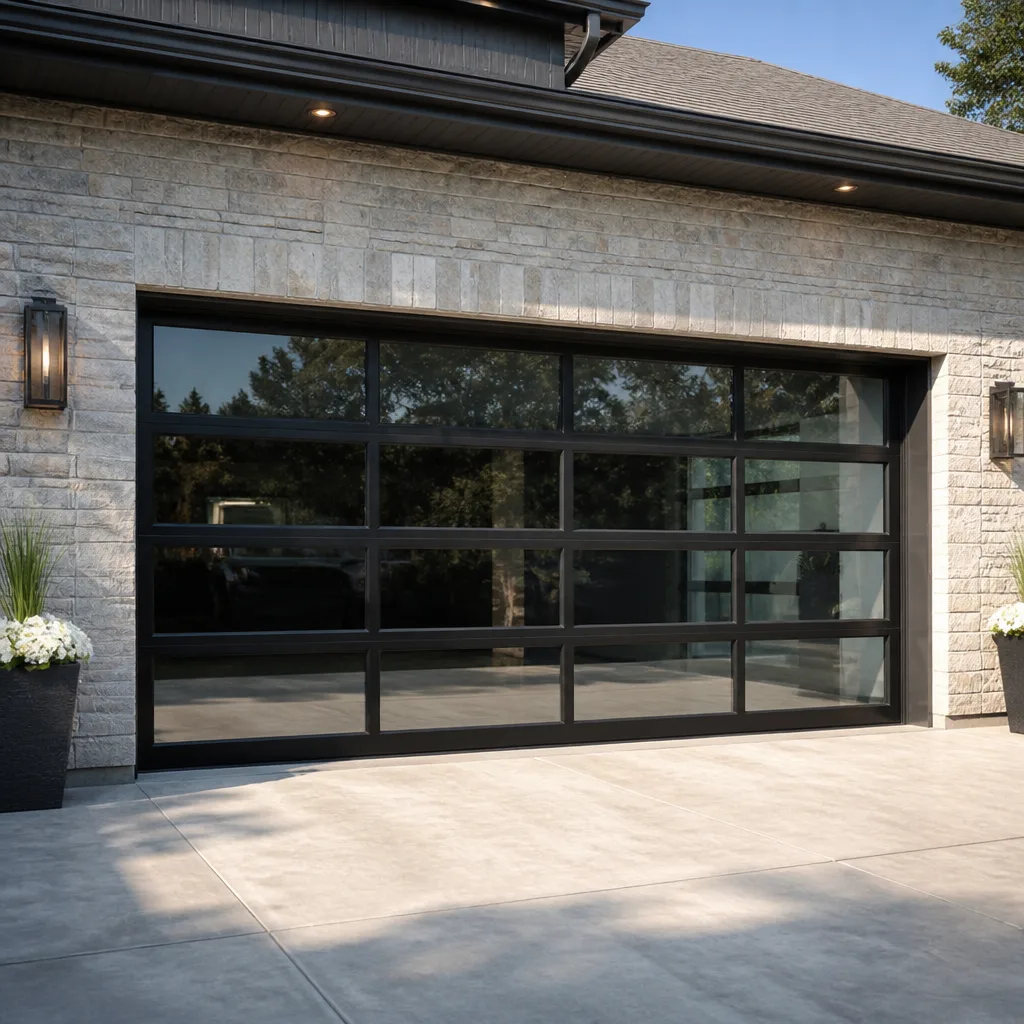 Full-view glass
 LiftMaster openers
 Chamberlain openers
Full 25-point door and opener safety check with every visit - springs, cables, rollers, tracks, and your LiftMaster or Chamberlain opener included
You get a price before we start. It does not change when the truck arrives.
Get your free estimateGarage Door Warning Signs: A Rancho Cucamonga Homeowner’s Reference Guide
Let’s start with a number most Rancho Cucamonga homeowners never hear: a garage door that takes two full seconds longer to open than it did last month isn’t “getting old.” It’s telling you the torsion spring has lost measurable tension and is weeks, sometimes days, away from snapping. That’s not speculation. It’s what we see when we open up spring tubes across Rancho Cucamonga garages every week. This guide is a diagnostic reference built for the homeowner who uses the garage as the front door, needs the door working every morning, and wants to know which warning signs mean “call someone next week” versus “stop using this door tonight.” We’ll cover what specific noises and movements actually indicate, which signal is a false alarm unique to Southern California’s temperature swings, and what to do about each one.
Quick Answer
Most garage door failures in Rancho Cucamonga announce themselves 30 – 90 days in advance through specific noises, movement changes, or visual wear on components like springs, rollers, cables, and tracks. A grinding rumble points to rollers or bearings, a sharp bang followed by a door that won’t move usually means a snapped torsion spring, and a door that hesitates or reverses mid-travel is almost always a photo-eye sensor alignment issue, not a dying opener. The proper response ranges from “lubricate and monitor” to “stop using the door and call a technician,” depending on which symptom you’re seeing and its intensity.
Styles & brands we work with
Table of Contents
- Interpreting What Your Garage Door Is Actually Saying
- Symptom-to-Component Diagnosis Table
- The Three Urgency Tiers: Monitor, Schedule, Stop
- The Rancho Cucamonga False Alarm: Thermal Expansion Stiffness
- Why Your Opener Reverses Mid-Travel (It’s Not the Motor)
- The Cable Fray Checklist: What to Look For Every Month
- A Practical Lubrication and Tightening Routine You Can Do
Interpreting What Your Garage Door Is Actually Saying
The single most useful skill a Rancho Cucamonga homeowner can develop is separating noises by their character and source point. A hiss from the opener rail is different from a rumble at the roller line, which is different from a snap inside the torsion tube above the door. Each one maps to a different component and a different level of urgency. When we roll up to a house in Rancho Cucamonga for a noise complaint, our diagnostic starts the same way: we ask the homeowner to stand in a specific spot and run the door once while we watch and listen. Most people have already normalized the sound because it got louder gradually over months. That gradual creep is exactly why doors fail without “warning” – the warning was there, it just sounded like background noise.
Here’s a sound primer, in order of how alarming it should feel:
- Rumbling or grinding along the track line: This is almost always the rollers. Steel rollers wear their bearings down until the wheel no longer spins freely against the track. The sound is the flat spot grinding metal on metal. It’s a wear item, and it’s relatively cheap to fix, but if you ignore it, a seized roller can gouge the track itself, turning a $100 job into a $350 track replacement.
- Squealing or squeaking from the center of the door when it moves: Usually the torsion spring coils rubbing as the door cycles. Some of this is normal. Excessive squealing means the spring is binding against itself or the center bearing is dry. A spring that binds while under tension is one step closer to premature fatigue.
- A deep, rhythmic rumble coming from the opener unit: Often the drive gear or the sprocket assembly inside the opener housing. Particularly common on older screw-drive openers and anything that’s seen five or more summers in a hot Rancho Cucamonga garage. The plastic gears inside modern openers degrade faster in high heat, and we see this failure mode routinely on units that sit in direct afternoon sun on the west-facing walls of garages in neighborhoods like Victoria.
- A sharp bang, like a firecracker, followed by the door moving unevenly or not at all: That’s a torsion spring snapping. It is loud enough to wake a household. If this happens, do not try to run the opener again. The door is now off-balance and the remaining spring, if any, is carrying uneven load.
- Chattering or clicking during the first few inches of travel: Often a track that’s slightly out of alignment, or a door section joint that’s worked loose. In wood doors that have been repainted multiple times in Rancho Cucamonga’s dry summers, the section joints swell and shrink with moisture cycles, and the hardware works loose. This is a tightening job, and it’s one of the few things a homeowner can safely do with a 7/16-inch socket and a stepladder.
One more note on noise: a door in good condition, properly lubricated, makes a sound more like a low whoosh with a gentle click at each panel seam. If you can describe the noise as anything close to “angry,” something’s wearing out. If you’re not sure what you’re hearing, a good starting point is to stand at the side of the track while the door runs and close your eyes. An experienced ear can often tell the difference between a roller bearing, a spring, and a motor gear by pitch and cadence alone. If you’re in Rancho Cucamonga and the noise has been building for a month or more, it’s worth getting the door looked at before the sound becomes a failure. The glass garage door repair process in Rancho Cucamonga we follow always starts with that same sound mapping.
Symptom-to-Component Diagnosis Table
When a home garage door in Rancho Cucamonga starts acting up, most descriptions we hear are “it’s making a sound” or “it’s shaking.” Those aren’t diagnosis-friendly. The table below is how we train our eyes and ears to map what the door is doing to what’s actually failing. Use it as a field guide: find the row that matches what you’re seeing and hearing, then read the likely cause and the recommended action.
| What You Observe | Likely Component | What’s Happening | Urgency |
|---|---|---|---|
| Grinding, rumbling from the sides | Rollers | Worn bearings, flat-spotted wheels dragging on track | Schedule within 2 weeks |
| Squealing from above the center of the door | Torsion spring | Coils binding or center bearing dry | Monitor and lubricate; call if it worsens |
| Rhythmic rumble from the opener unit | Opener drive gear | Plastic gear stripping, especially in heat | Schedule within 2 weeks |
| Sharp bang, door suddenly heavy or crooked | Torsion spring (snapped) | Complete spring failure under load | Stop using the door now |
| Chattering or clanking at panel seams | Section hinges | Hinge hardware backing out from thermal cycles | Monitor; tighten if accessible |
| Door starts down, then reverses up | Photo-eye sensors | Misaligned beam or dirty lens | Fix same day; safety system compromised |
| Door hesitates at a specific point, then continues | Track or roller | Bent section of track or seized roller creating a catch point | Schedule within 1 week |
| Cable on one side has slack; other side is taut | Extension spring or cable drum | Cable jumped the drum, door is under uneven tension | Stop using the door now |
Two rows on this table deserve extra emphasis. If you see slack in one cable while the other is tight, that is an emergency condition. The door is not balanced, and that imbalance will damage the remaining spring, the operator arm, or the panels themselves every time you cycle the door. The second one is the photo-eye reversal, which we’ll cover in depth later in this guide – it is the single most commonly misdiagnosed garage door problem we encounter in Rancho Cucamonga.
The Three Urgency Tiers: Monitor, Schedule, Stop
Not every warning sign requires a service call. Throwing a $189 service charge at a noise that goes away with lubrication is wasteful, and we’d be the first to tell you that. At the same time, treating a spring issue as “something I’ll get to this spring” is how doors end up trapped halfway open at the worst possible moment. The key is sorting symptoms into urgency tiers, then acting within the tier’s timeframe. Here’s how we think about it, and how we advise Rancho Cucamonga homeowners to think about it.
Tier 1: Ignore and Monitor
These are conditions you can safely live with for weeks or even months, provided you’re paying attention to whether they change:
- Light squeaking from the torsion spring area when the door moves. Lubricate the spring and center bearing; if the squeak returns within a week, schedule a look.
- Very slight shuddering at the end of the down-travel, especially on older doors. This is usually the bottom seal compressing and the door settling. It’s a wear indicator, not a failure.
- Faint scraping in one spot every cycle. Watch the track for a worn spot. If the door catches visibly, move up to Tier 2.
- Slow opening speed that hasn’t changed in three months. Some doors are simply geared slower. The concerning version is a door that used to be faster and is now slower. That change matters more than the speed itself.
Tier 2: Schedule Within Two Weeks
These symptoms indicate active wear on a component that will eventually fail, but you have a window in which to address them before they become emergencies:
- Grinding or rumbling from the rollers. The bearings are wearing. A full roller replacement on a two-car door in Rancho Cucamonga typically runs in the range of $110 to $180 including parts and labor, depending on roller count and access. Compare that to a gouged track from a seized roller, which can push past $300 once the track needs straightening or replacement.
- Opener drive gear noise. If your opener is a screw-drive or chain-drive unit and you’re hearing the rumble, that gear is on its way out. The door may still work for weeks. But when the gear strips completely, the door becomes dead weight. If it’s an older Craftsman unit and the chain drive opener repair in Rancho Cucamonga is straightforward, it’s a repair a technician can usually complete in one visit.
- Visible but stable cable wear. If you can see light fraying near the bottom of the cable loop, but both cables are still taut and the door runs balanced, you have time. But schedule the replacement. Cable failure under load can send the door crashing down on anything in its path.
Tier 3: Stop Using the Door Now
These are emergency conditions. Do not operate the door with the opener. Do not try to open it manually. If a car is inside and you need it out, call a technician.
- A snapped torsion spring. The loud bang plus a door that suddenly feels unbelievably heavy or won’t lift more than a few inches. The door is now counterbalanced only by whatever residual tension remains, and the opener motor is not designed to lift that weight alone. Running it can burn out the opener’s gears or rip the operator arm off the door.
- One slack cable and one taut cable. The door is diagonally loaded. Every cycle is bending the top section and putting shear force on the hinges.
- A door that visibly hangs crooked when open. This can be a broken spring, a slipped cable drum, or a broken hinge at the top of the door. In any case, the load path is compromised.
- Any door that has come completely off its track and is leaning into the garage. Do not attempt to push it back onto the track by hand. The counterbalance system is now loaded in a direction it was not designed for.
The tier system works because it gives you permission to not panic about the little stuff while making sure you don’t rationalize away the big stuff. When in doubt about which tier you’re in, a phone call with a description of the symptom is free. We’d rather tell you “lubricate it and watch it for two weeks” than have you wait until the door is a problem.
The Rancho Cucamonga False Alarm: Thermal Expansion Stiffness
Rancho Cucamonga sits in a temperature zone where nights in the high 40s in winter and days in the 90s in summer aren’t unusual. A steel garage door – especially one facing south or west off streets like Carnelian Street or Arrow Route – absorbs a lot of heat during the day. Metal expands when hot and contracts when cold. Here’s the false alarm: a door that opens with a slight groan or resistance first thing in the morning, then runs smoothly by mid-morning, is often experiencing thermal contraction from the overnight cool-down, not a mechanical failure. The steel sections have shrunk against the hinges and track, creating friction that disappears as the material warms back up.
We see this pattern most distinctly in Rancho Cucamonga doors that face east and get hot morning sun but cool nights. The homeowner goes out at 6:30 a.m., pops the door, hears a groan, and thinks the door is failing. By 10 a.m., it’s silent and smooth. That’s a thermal behavior, not a repair issue. The distinction matters because a technician called out for the morning groan will often find nothing wrong – and the homeowner will be out a diagnostic fee for a normal material property. Here’s how to tell thermal stiffness from actual mechanical wear:
- Note the time of day. If the stiffness happens only in the first few hours of the morning and only after a cool night, thermal contraction is the prime suspect.
- Check whether the sound is consistent. Mechanical wear is consistent cycle to cycle regardless of temperature. Thermal stiffness fades as the day warms.
- Watch the track for shininess. Steel tracks that rub under thermal load will show slight polished spots where the rollers press. That’s normal. Gouges or horizontal scoring are not.
- Lubricate the track lightly. A thin film of white lithium on the track where the rollers ride can reduce thermal friction. Do not over-lubricate. Rancho Cucamonga’s dust collects on wet lubricant within weeks; a dry film persists longer.
The counterpoint to this false alarm is the real damage thermal cycling does cause over time. Repeated expansion and contraction loosens fasteners, works hinges loose, and can warp a wood garage door that wasn’t sealed properly. That’s why the annual service visit matters in our climate even when the door seems fine. The same temperature range that produces a harmless morning groan is also slowly backing out the same bolts that keep the door hanging above your car.
Why Your Opener Reverses Mid-Travel (It’s Not the Motor)
The most common “my opener is dying” call we get in Rancho Cucamonga turns out to be something else entirely. A door that starts closing, travels six inches, then reverses back up and won’t close? In the overwhelming majority of cases, that’s the photo-eye safety system doing exactly what it was designed to do. The eyes are misaligned, dirty, or blocked, and the opener thinks something is in the door’s path. The opener isn’t broken. The safety system is triggered.
Every modern garage door opener in the United States, including every LiftMaster, Chamberlain, Craftsman, and Genie unit we service, is required by federal law to have an optical safety system. Two small units sit about six inches off the floor on either side of the door opening. One emits an infrared beam, the other receives it. If anything interrupts the beam, the opener will refuse to close and will reverse if it’s already closing. Here’s the diagnostic sequence we walk Rancho Cucamonga homeowners through before they spend money on a service call:
- Look for the obvious. Is anything in the path? A rake handle, a piece of lumber, a trash can, a kid’s bike. Anything leaning near the sensor area can interrupt the beam.
- Check the indicator lights. Both eye units have small LEDs. When aligned and powered, both typically show a steady green or a blinking pattern consistent with a clear beam. Different brands differ: LiftMaster and Chamberlain units commonly use a steady green on the receiving eye and a blinking amber on the sending eye. If one eye is out entirely or blinking erratically, it’s not receiving power or signal.
- Check for dirt and spider webs. The lens on the receiving eye is a magnet for dust and cobwebs in a Rancho Cucamonga garage. A visible web across the lens will scatter enough of the beam to trigger a reversal. Clean both lenses gently with a soft, dry cloth.
- Check for physical knocks. The eye brackets stick out six inches from the track. They get bumped by lawn equipment, garbage cans, and feet. If one eye is visibly pointing in a slightly different direction than the other, it’s been knocked out of alignment.
- Knee-level laser test or tape test. Many modern openers with a motor unit in the ceiling have an alignment feature that responds to the blocking pattern. On simpler units, run a string line or a straightedge across the two eyes to confirm they’re pointing at each other. Adjust the bracket screws gently until the lights indicate a locked beam.
If the eyes align perfectly and the door still reverses, then we’re looking at a possible opener circuit board issue, a damaged wire to the eye units, or a force setting that’s drifted out of calibration. But that’s the exception, not the rule. We’d estimate that 7 out of 10 reversal calls in Rancho Cucamonga we resolve at the sensor without touching the opener itself. That’s not a bad outcome: instead of paying for an opener replacement, a homeowner gets a clean lens and a realignment. If you’re running a newer smart home opener like the myQ line, the app will often log reversal events, which can help identify when the problem started. But the fix is almost always mechanical and at floor level, not inside the opener.
The Cable Fray Checklist: What to Look For Every Month
Garage door cables are the quiet, boring parts that fail theatrically. Most homeowners walk past them hundreds of times without ever looking at them. A cable under tension on a two-car door is holding back hundreds of pounds of stored spring energy. When it lets go, it doesn’t sigh. It snaps. And if someone is in the path of the door or the cable itself, that’s a serious injury risk. The Rancho Cucamonga garage door installation teams we work with always point out cable condition as part of a new-door walkthrough, because once a door is up and running, those cables become invisible to most people.
Here’s the cable wear checklist we recommend every homeowner in Rancho Cucamonga run through once a month. It takes under two minutes, costs nothing, and can catch a failure weeks before it happens:
- Unplug or disengage the opener. Safety first. Pull the red emergency release handle so the door is no longer connected to the operator. You can run the door manually from this point, which you’ll need to do to inspect the full cable length.
- Inspect the visible section at the bottom fixture. This is the point where the cable connects to the bottom bracket on both sides of the door. This is the highest-stress connection point on the entire cable system. Look for any sign of separation between the cable and the fitting, rust on the fitting, or a cable that’s no longer seated squarely in its loop.
- Run the door up by hand until it stops, then lower it. As the cable travels through the drum, look for any section where the individual strands of the cable have separated, creating a fuzzy or “bearded” appearance. That’s a pre-failure indicator. The cable won’t break all at once; it fails strand by strand over weeks. By the time you see visible beardiness, the cable has already lost a meaningful fraction of its working strength.
- Check for any kink or permanent bend. A cable that has jumped the drum once and been reset will often have a kink where it came off. That kink is now a weak point. If the cable ever comes off the drum again at that same spot, it’s likely to fail there. Replace kinked cables.
- Look for rust or corrosion at the drum. In Rancho Cucamonga’s dry climate, cable corrosion is less common than in coastal areas, but it does happen in garages where pool chemicals are stored. Chlorine fumes from stored pool supplies accelerate corrosion on steel cables and hardware. If you store pool chemicals in the garage, move them to a ventilated outdoor storage area and check your cables more frequently.
If you find any of these conditions, do not try to replace the cable yourself. Cables are under the same tension as the springs. Removing a cable without properly unwinding the spring first is how people lose fingers. A technician will unwind the spring, replace both cables as a matched set, re-tension everything, and verify the door balance. This is one of the most dangerous diy repairs in homeownership, and it’s one where we’re happy to say: don’t.
A Practical Lubrication and Tightening Routine You Can Do
There are two maintenance tasks on a garage door that a homeowner can do safely and effectively: lubricating the moving parts and tightening the hardware. Everything else, in our view, belongs to a technician who has the winding bars, the cable tools, and the experience to work around loaded springs. This routine, done twice a year in spring and fall when Rancho Cucamonga temperatures are mild, will extend the life of the door noticeably and will also train your ear to recognize the door’s baseline sound – which means you’ll catch changes earlier.
- Gather supplies. You’ll need a can of white lithium grease or a silicone-based garage door lubricant (never WD-40, which is a cleaner and degreaser, not a lubricant), a rag, a stepladder if the door is tall, and a socket set with 7/16-inch and 1/2-inch sockets.
- Disengage the opener. Pull the red release handle. You’ll be running the door by hand for part of this, and you don’t want the opener fighting you.
- Lubricate the torsion spring coils. With the door closed, run a bead of grease along the length of the spring where the coils are exposed. If it’s a Wayne Dalton door with a TorqueMaster tube, there’s no visible spring – skip this step and call a technician for any spring service.
- Lubricate the rollers. Only the metal rollers with visible bearings get lubrication. Spray or apply a small amount of grease directly to the bearing area where the wheel meets the shaft. Do not grease the wheel surface that rides on the track – that just collects dust and makes the door hop. If your door still has nylon or plastic rollers, those are sealed and don’t need lubrication; replace them with steel-bearing rollers when they wear out.
- Lubricate the hinges. There’s a hinge at the top of each panel section along the door edges. A light dab of grease at each pivot point keeps them quiet. Rancho Cucamonga’s fine dust means lighter is better here.
- Lubricate the opener rail. If you have a chain-drive or screw-drive opener, the rail benefits from a light coat of the appropriate grease. Belt drives don’t need lubrication, but the belt tension should be checked annually.
- Tighten all visible fasteners. With the door down, go around and snug every bolt and lag screw you can see: the hinge-to-panel connections, the track brackets where they connect to the wall, and the opener mounting bolts. Do not crank these down with full body weight. Snug is the goal. Overtightening in steel that’s expanding and contracting day to day is how you strip threads and crack brackets.
- Test balance. With the opener still disengaged, lift the door manually to about waist height. It should stay put without drifting more than a couple of inches either way. If it falls shut or flies open, the spring tension is off, and that’s a technician visit, not a diy fix.
One caveat about the balance test on older doors with opener systems in Rancho Cucamonga: if your opener is a LiftMaster with an automatic lock, it may have a sensor that requires the opener to be reconnected before certain operations. For a basic balance test on a disengaged door, this doesn’t apply. But if you’re ever uncertain about what a component does or whether a task is safe, calling for a free estimate or a quick phone consult is always the right move.
Common Mistakes to Avoid
We’ve organized these by how frequently we see them, not alphabetically. Each one is a real scenario we’ve walked into at a Rancho Cucamonga home.
- Ignoring the slow change pattern. A door that opens a little slower each month for six months is warning you. Homeowners who only call when the door stops completely are the ones who end up with the most expensive repairs, because multiple components have now worn together.
- Using WD-40 on everything. WD-40 is not a lubricant. It’s a solvent that will strip existing grease and leave metal parts dry. Use lithium or silicone lubricant. The only thing WD-40 is for on a garage door is cleaning a greasy spot off the panel face.
- Continued use of the opener after a spring snap. When a spring breaks, the door becomes a dead weight. Running the opener will strip the plastic drive gear inside the opener. Now you’ve got a broken spring and a broken opener. Two repairs instead of one.
- Attempting to re-align a door that’s come off track by lifting it. A door with one side hanging off the track is under unbalanced load from the cable system. Lifting it by hand can shift that load unpredictably. This is a stop-and-call scenario.
- Assuming a new door needs no attention. New doors settle. Hinges work loose in the first year. That’s not a defect, it’s a material property. The annual tightening and lubrication routine is just as important in year one as it is in year ten.
- Mistaking thermal stiffness for failure. As covered above, that morning groan on a cold day in Rancho Cucamonga isn’t a broken door. Watch the pattern before you spend money on a service call.
- Leaving pool chemicals in the garage near the door hardware. Chlorine gas is heavier than air and lingers near the floor where your cables and bottom brackets live. Corroded hardware is a preventable failure mode.
See the difference
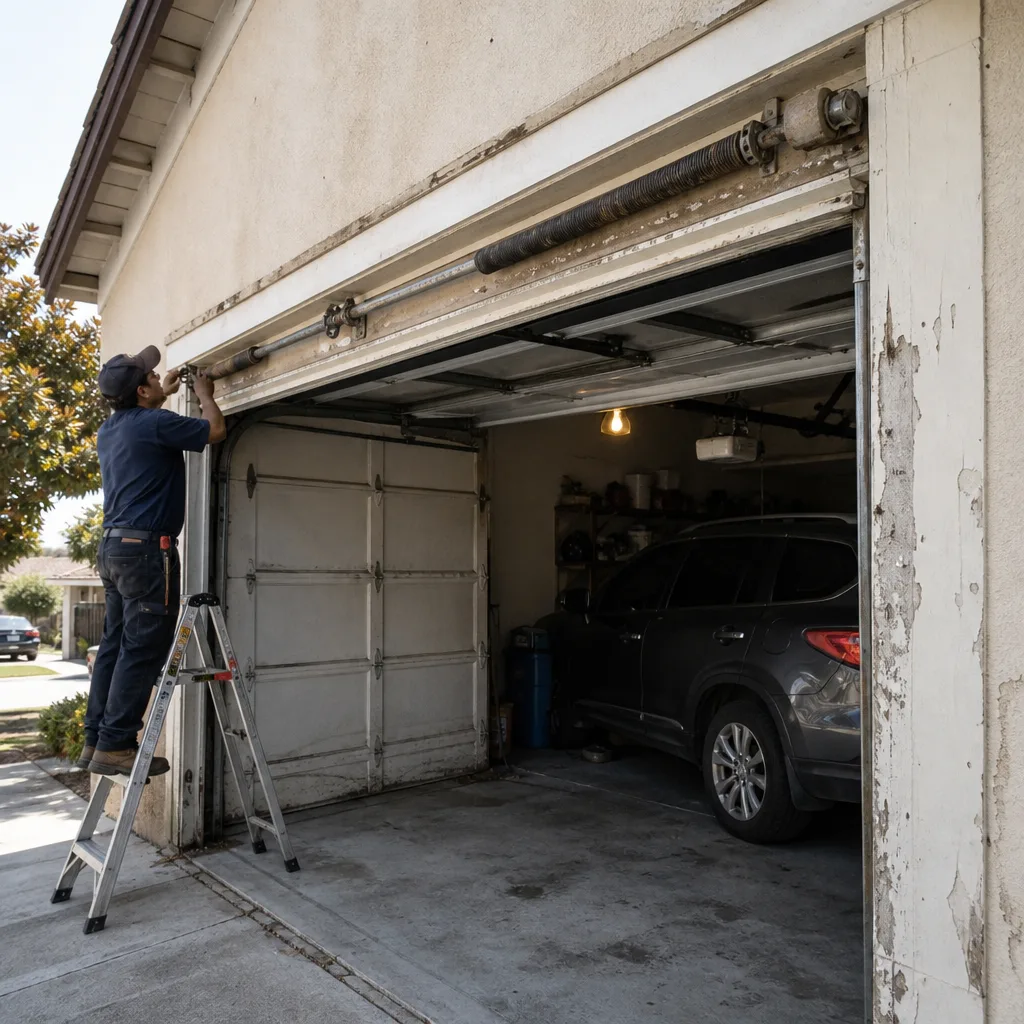 Before
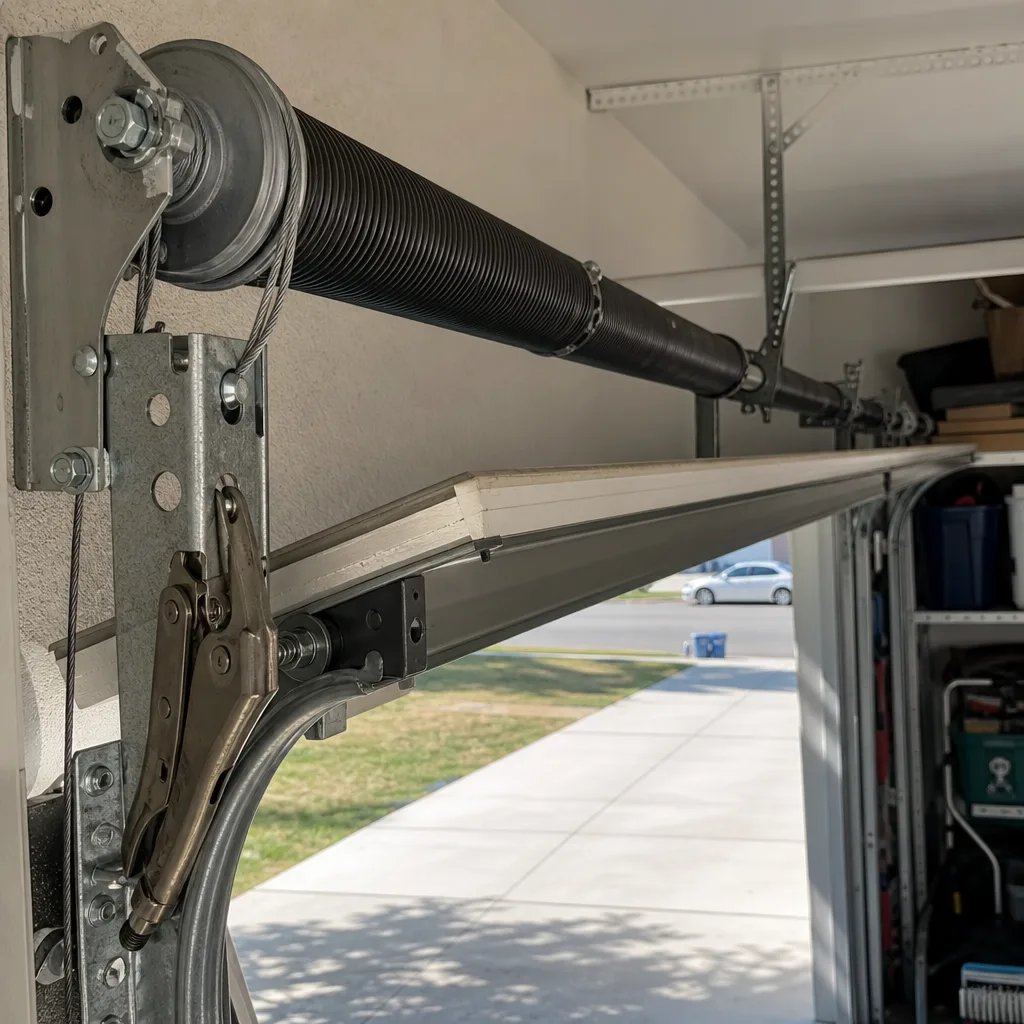 After
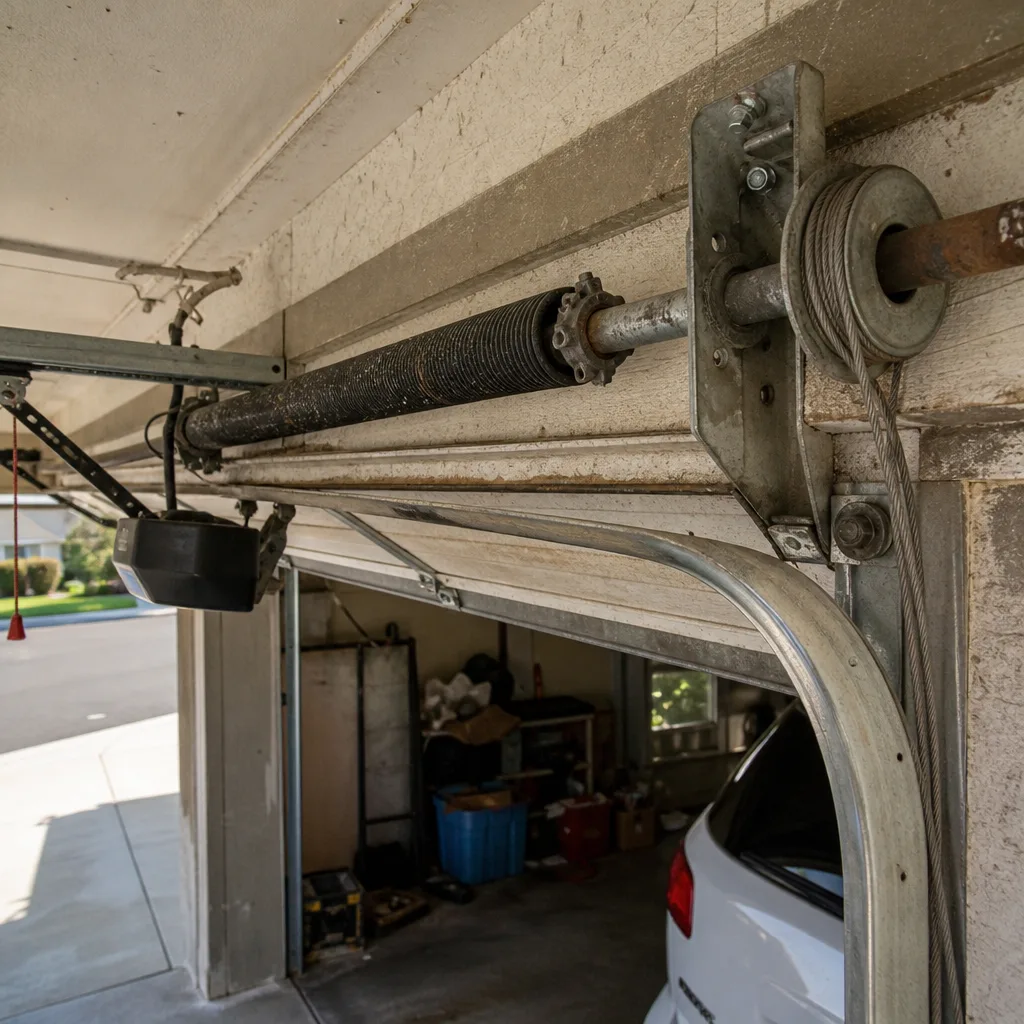 Before
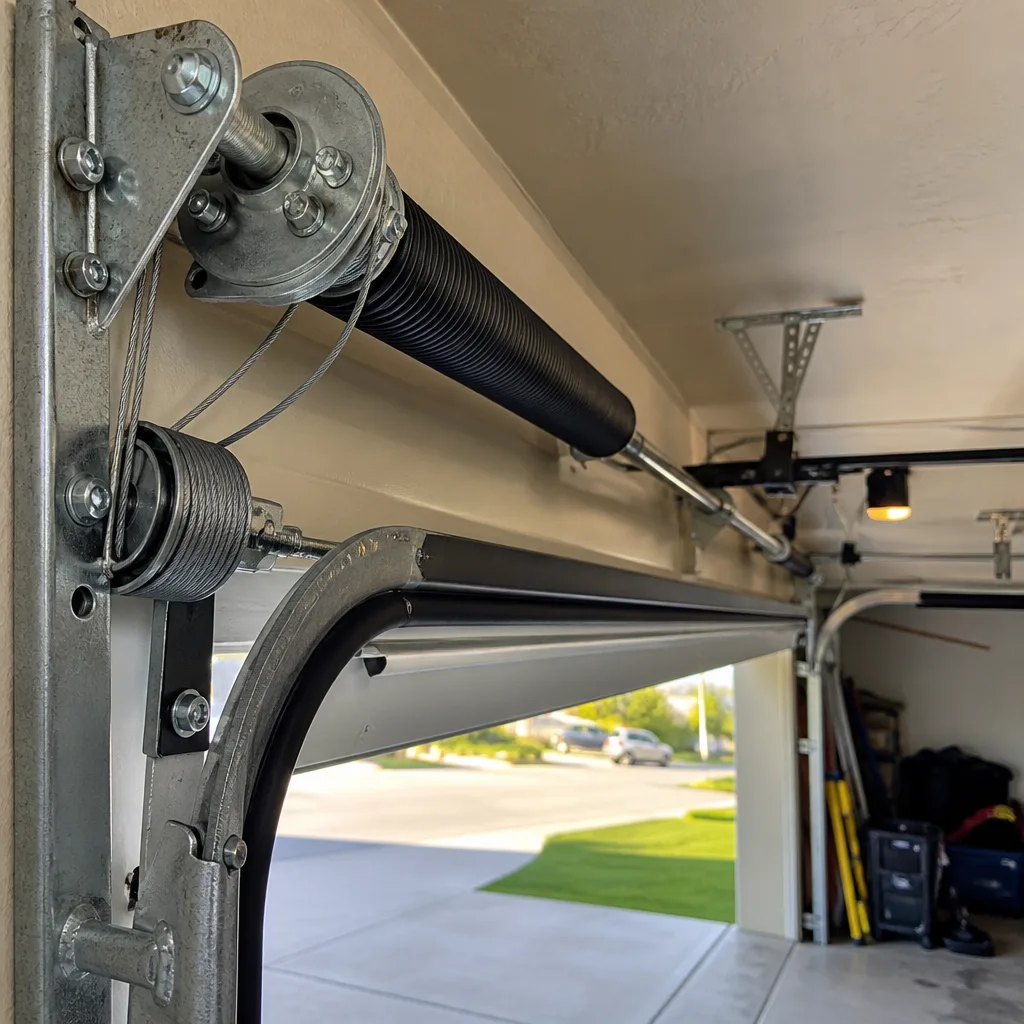 After
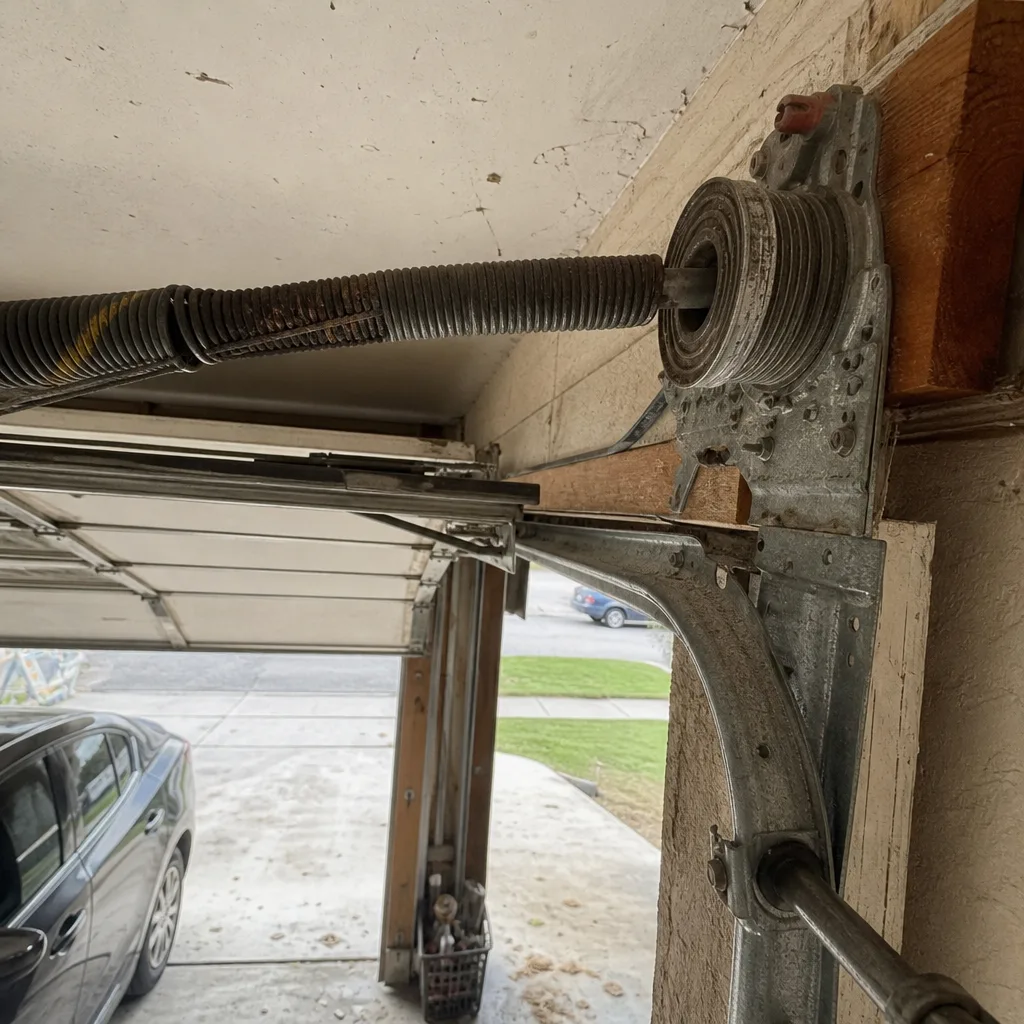 Before
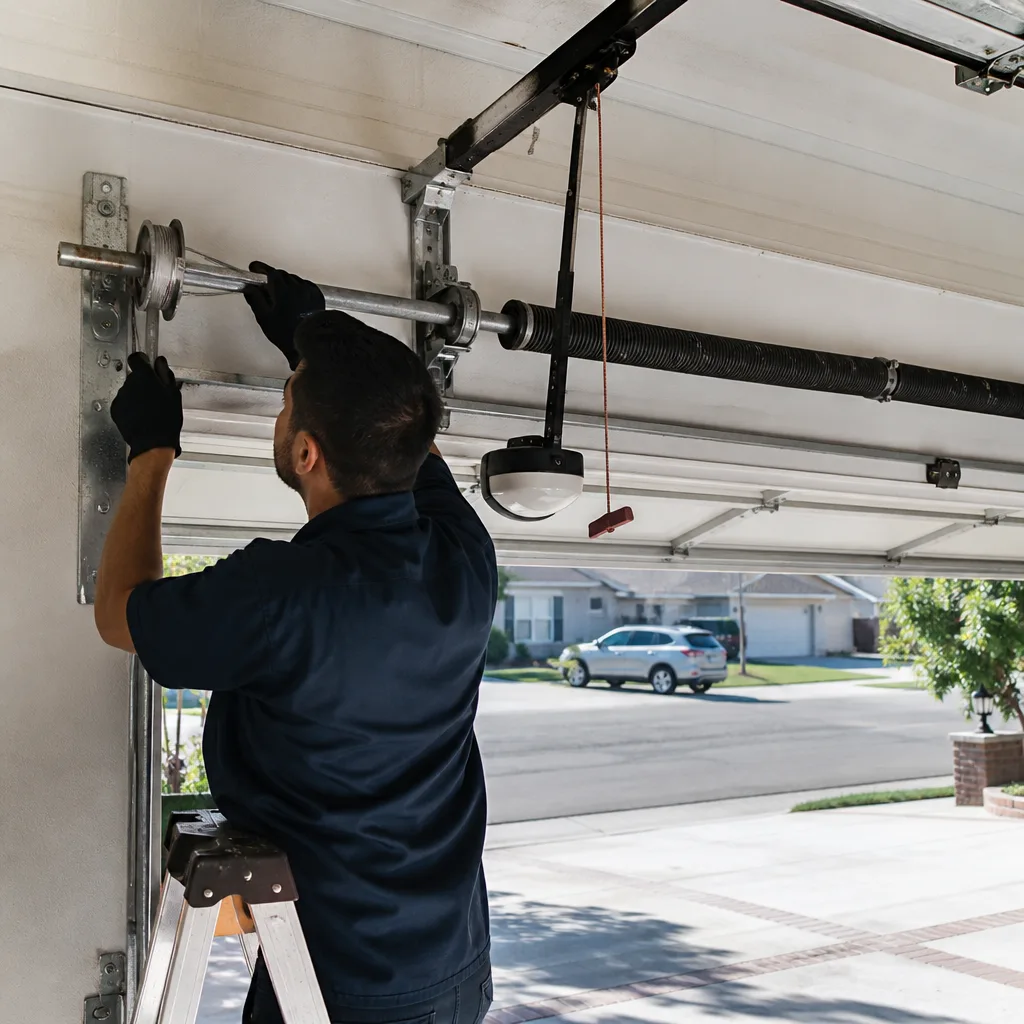 After
When to Call a Professional
Here’s the honest list of scenarios where a professional visit is the right call, not an option: any torsion spring work, any cable replacement, any track realignment where the door has jumped the track, any opener replacement involving electrical wiring, and any door balance issue. The warning signs are the same as the Tier 3 list, but the principle is broader: if the repair involves a loaded spring or a cable under tension, it’s not a homeowner job. Those components store enough energy to remove a finger. The risk isn’t worth the satisfaction of a diy fix.
If you’re in Rancho Cucamonga and you’ve identified a noise, a reversal, a cable issue, or anything on the symptom table that’s Tier 2 or Tier 3, we’re set up to walk you through the diagnosis over the phone and get a technician scheduled for the same week. A door that’s making an unfamiliar sound usually needs about 45 minutes of technician time to diagnose and often less than two hours to fix on the spot, since we work on LiftMaster, Chamberlain, Garage Door Repair Rancho Cucamonga Specialist, Genie, Clopay, Amarr, Wayne Dalton, Craftsman, and Raynor systems daily. Bronze Garage Door Repair offers free estimates in Rancho Cucamonga – call (833) 734-6940 and we’ll give you an honest read on whether that sound is worth worrying about.
Frequently Asked Questions
For the most common repair categories in Rancho Cucamonga, expect roughly $110 – $180 for a full roller replacement on a two-car door, $180 – $340 for a single torsion spring replacement including parts and labor (most hardware-store-grade springs fail within two to three years, while a technician-installed spring is rated for the door’s cycle life), and $120 – $220 for sensor realignment or replacement. Cable replacement pairs typically run $140 – $220. Opener drive gear replacement on older units tends to land between $150 – $250. These are ballpark figures, not quotes, and the final number depends on door weight, spring size, and access. Every job is priced before any work begins. Call (833) 734-6940 for an exact quote in Rancho Cucamonga – estimates are free.
For spring failures, cable issues, and sensor problems, same-day or next-day scheduling is usually available depending on current call volume and where you are in the Rancho Cucamonga area. These are common failures, and we keep parts on the truck for the eight brands we service, so a single visit typically handles the diagnosis and the fix together. For full door installations or custom orders, that’s a measured job with a lead time – we’ll measure, quote, and schedule. Call (833) 734-6940 to find out today’s availability.
The opener’s photo-eye safety system is detecting an obstruction or a loss of beam alignment, and it’s refusing to close the door as a safety measure. In most cases, the fix is cleaning the lens, realigning the two eyes, or removing something from the sensor path. It is rarely an opener motor problem. If the reversal happens only at night, check for lighting interference from a nearby fixture or a reflection off a metal surface.
Shaking is a symptom, not an age. The most common causes are worn rollers that are no longer round, a track that’s slightly out of alignment, or a door that’s out of balance from spring fatigue. A properly maintained door of any age shouldn’t shake noticeably. If the shaking is new, schedule an inspection. If it’s been there for years, you likely have multiple worn components contributing.
Twice a year, in spring and fall: lubricate the torsion spring, the roller bearings, the hinges, and the opener rail as applicable. Tighten all visible fasteners. Run the door manually to listen for changes. Check the cables for fraying and the tracks for debris. In Rancho Cucamonga’s dry summers, dust is the enemy, so light lubrication is better than heavy. If you store anything in the garage that creates fumes – paint cans, pool chemicals, fuel – move those outside or ensure the garage is ventilated.
Maybe not. A slow door is usually a spring and balance issue, not an opener issue. The opener moves the door; the springs do the actual lifting. If the springs are tired, a new opener will still struggle against the same unbalanced load. Have the spring tension checked first before spending money on an opener. The fastest way to know is a free balance test – call (833) 734-6940 to schedule one.
The Bottom Line
Your garage door tells you it’s failing weeks before it stops working. The skills that matter are the ones in this guide: knowing which noises map to which components, recognizing the difference between thermal stiffness and mechanical wear, checking cables monthly, and respecting the line between what you can maintain and what a technician must repair. Most failures are predictable, and most predictable failures are cheap to fix if caught early. The Rancho Cucamonga climate adds friction and thermal cycling, but it also gives you predictable seasonal cues for your twice-yearly maintenance routine. Do that routine, know your urgency tiers, and when something sounds or looks wrong, call sooner rather than later. The door that warns you is the door you can still plan around – and planning is a lot cheaper than a midnight spring snap.
Written by the team at Bronze Garage Door Repair, serving Rancho Cucamonga since 2014.